I. Introduction
Butter mints are a classic, melt-in-your-mouth confection that has been a favorite for generations. These tiny, creamy treats are often served at weddings, baby showers, and holiday gatherings. Their smooth texture and refreshing taste make them the perfect after-dinner mint or a simple indulgence. While store-bought versions are readily available, making butter mints at home offers a unique advantage—you can control the ingredients, customize flavors and colors, and enjoy a fresher, preservative-free treat.
In this guide, we’ll walk you through everything you need to know to make homemade butter mints. Whether you’re a seasoned baker or a beginner in the kitchen, this recipe is simple and rewarding.
II. Ingredients Needed
One of the best things about homemade butter mints is their short ingredient list. Here’s what you’ll need:
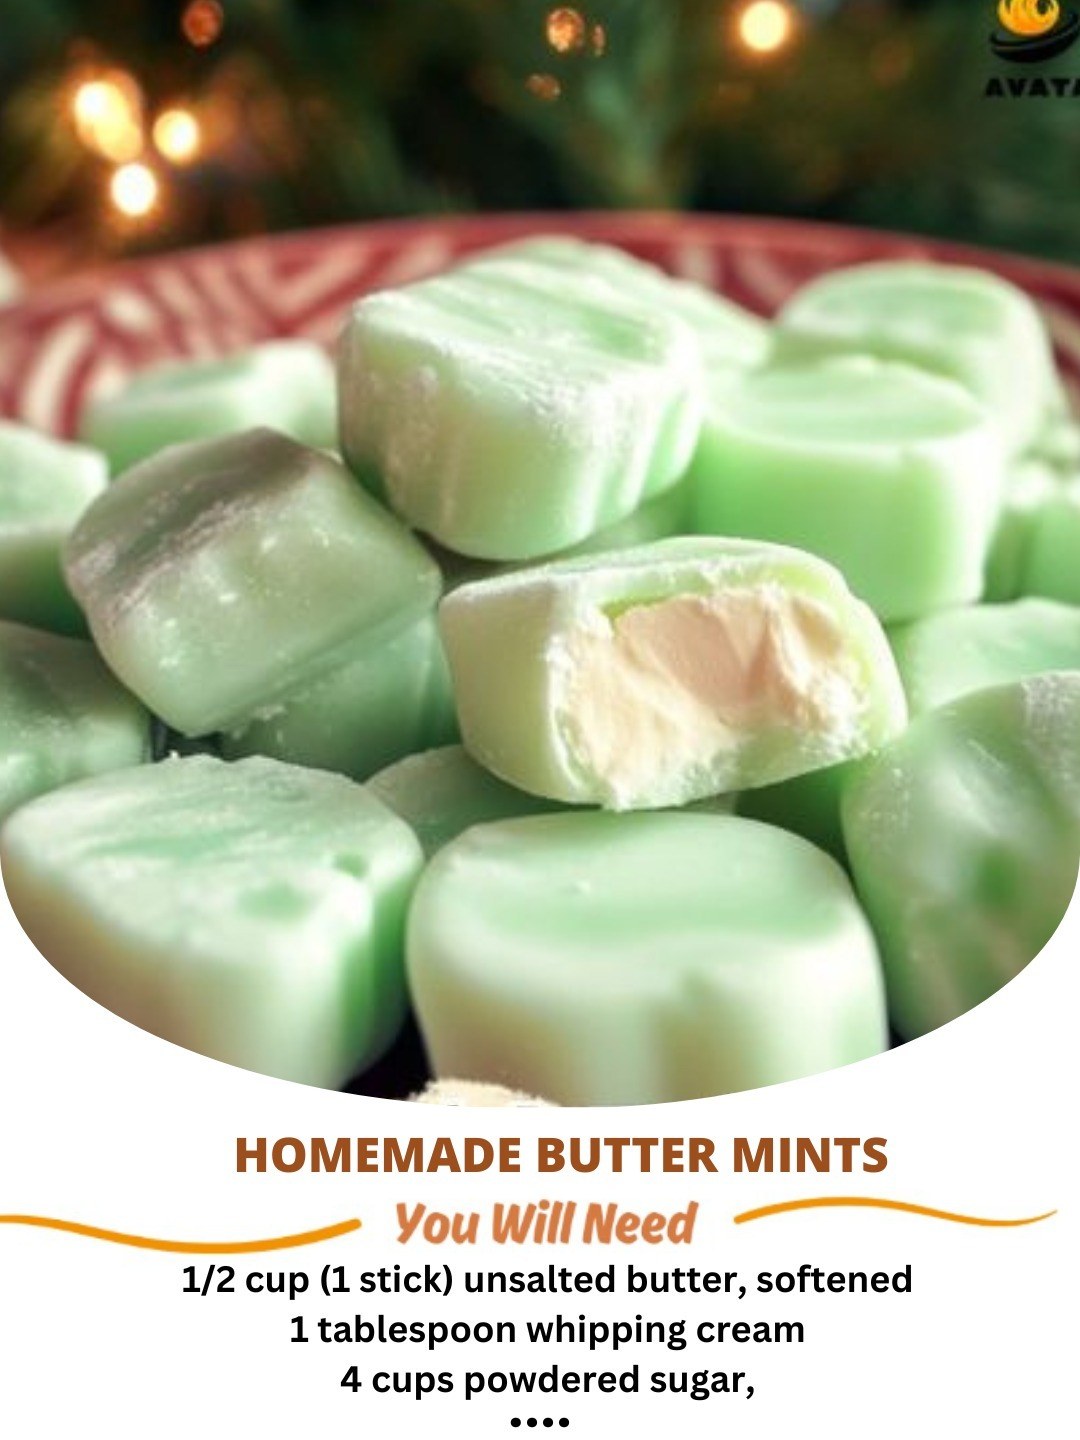
- Butter (softened): Use unsalted butter for the best flavor and texture.
- Powdered sugar: This provides sweetness and the perfect consistency.
- Heavy cream or milk: Helps bind the ingredients and create a creamy texture.
- Peppermint extract: The key flavoring agent (you can also experiment with other extracts).
- Food coloring (optional): Adds a fun, festive touch.
All of these ingredients are easy to find, and you might already have them in your kitchen!
III. Equipment Required
Before you start, make sure you have the following tools:
- Mixing bowl – For combining all ingredients.
- Hand or stand mixer – Helps achieve a smooth and creamy texture.
- Piping bag or rolling pin – Used to shape the mints.
- Knife or cookie cutter – For cutting the dough into uniform pieces.
Having the right tools will make the process smoother and more enjoyable.
IV. Step-by-Step Instructions
Now, let’s dive into the process of making homemade butter mints.
A. Preparing the Dough
- Cream the butter: In a large mixing bowl, beat the softened butter until smooth and creamy.
- Gradually add powdered sugar: Slowly add the powdered sugar, mixing continuously until well combined.
- Incorporate heavy cream and peppermint extract: Pour in the heavy cream (or milk) and peppermint extract, then mix until the dough reaches a smooth, pliable consistency.
At this stage, you should have a soft, slightly sticky dough that holds together well but isn’t too wet.
B. Shaping the Mints
- Divide the dough: If you want multiple colors, separate the dough into different portions.
- Add food coloring (optional): Knead a few drops of food coloring into each portion until evenly mixed.
- Shape the mints: Roll the dough into small logs, about ¼ inch thick. You can also use a piping bag to create unique shapes.
- Cut into pieces: Use a sharp knife or small cookie cutter to create uniform bite-sized pieces.
C. Drying and Storing
- Let the mints air dry: Arrange them in a single layer on a baking sheet and allow them to dry for at least 12 hours or overnight.
- Store in an airtight container: Once dried, transfer the mints to a container and keep them at room temperature for up to two weeks.
Drying is crucial for achieving the perfect texture, so be patient!
V. Tips & Variations
Homemade butter mints are highly customizable. Here are some fun ways to experiment with flavors and presentation:
- Alternative flavors: Swap out peppermint extract for vanilla, lemon, or cinnamon for a different taste experience.
- Using molds: Silicone molds can help you create beautifully shaped mints.
- Adjusting sweetness or texture: Add more powdered sugar for firmer mints or more cream for a softer consistency.
VI. Serving Suggestions
Butter mints can be enjoyed in a variety of ways:
- As a party treat: Place them in decorative bowls for guests to enjoy.
- Gift idea: Package them in small jars or tins for a homemade gift.
- After-dinner refreshment: Serve them as a palate cleanser after meals.
Their versatility makes them suitable for any occasion.
VII. Conclusion
Homemade butter mints are an easy and delightful treat that anyone can make. By following this simple recipe, you can create a batch of delicious, fresh mints tailored to your taste preferences. Whether you’re making them for a special event or just as a fun kitchen project, these little confections are sure to impress.
Try making a batch today and enjoy the sweet, buttery goodness of homemade butter mints!