Brioche is a classic French bread known for its rich, buttery texture and slightly sweet flavor. One of the most beloved variations of brioche is milk brioche rolls—soft, pillowy rolls perfect for breakfast, snacks, or even sandwiches. These rolls have a delightful balance of sweetness and richness, making them a favorite in bakeries and home kitchens alike. In this article, we will explore everything you need to know about milk brioche rolls, from their ingredients and preparation to variations and serving suggestions.
I. Introduction
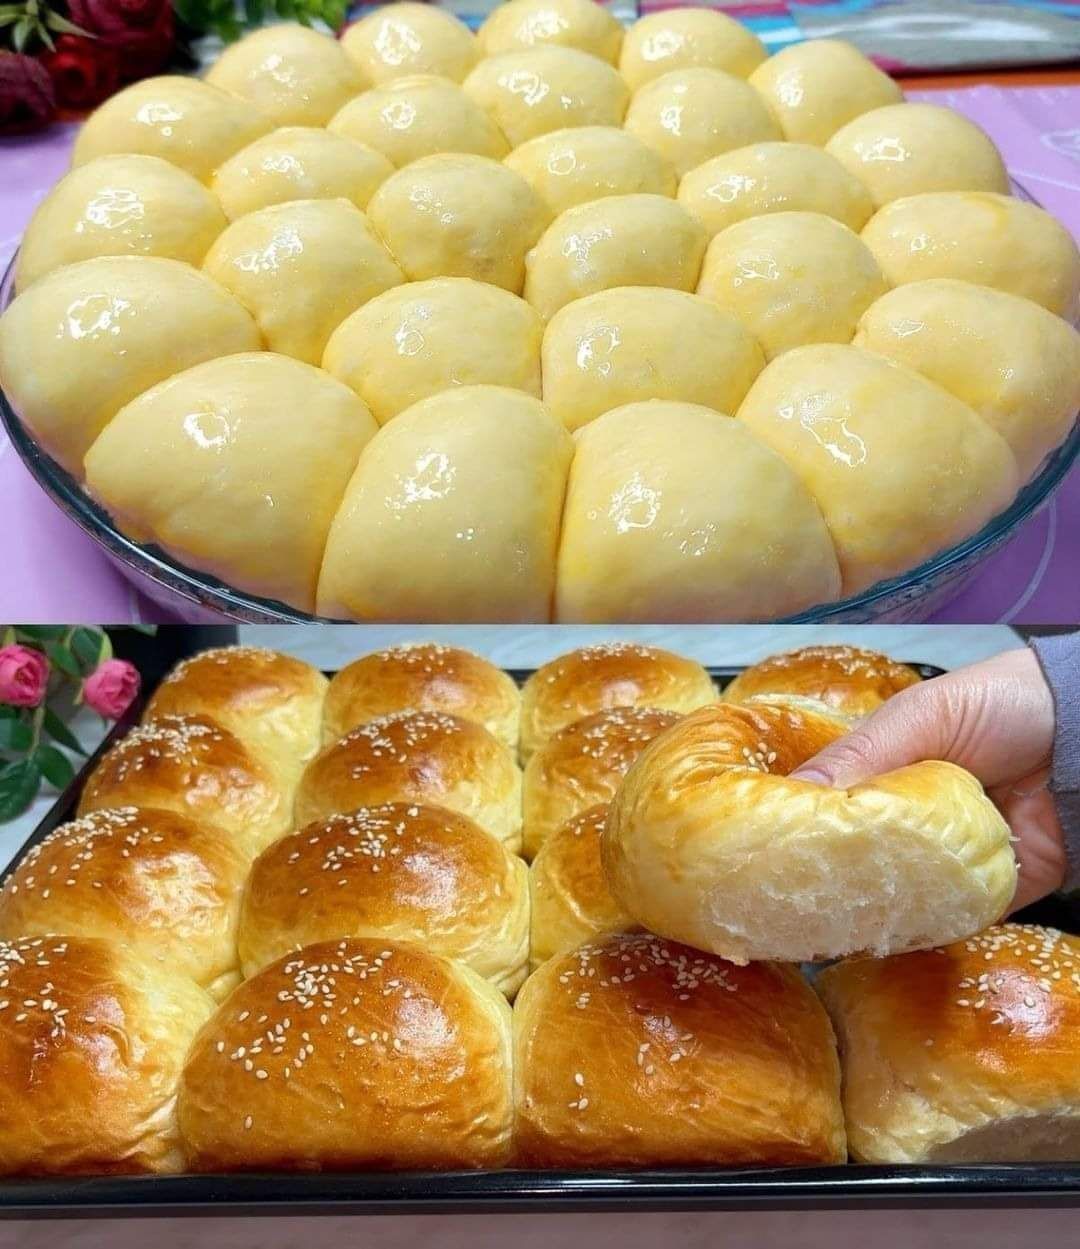
Milk brioche rolls are a staple in many households and bakeries due to their versatility and incredible texture. The combination of butter, eggs, and milk in the dough creates a soft and fluffy interior with a slightly crisp, golden crust. Unlike traditional bread rolls, milk brioche has a richer taste, making it ideal for pairing with both sweet and savory ingredients.
These rolls can be enjoyed plain, with a spread of butter and jam, or even used as the base for sliders and sandwiches. Whether you’re a beginner baker or an experienced one, making milk brioche rolls at home is an enjoyable and rewarding process.
II. Ingredients
To achieve the perfect balance of softness and richness, high-quality ingredients are key. Here’s what you’ll need:
For the Dough:
- 3 ½ cups (450g) all-purpose flour or bread flour
- 1 cup (240ml) warm milk (about 110°F/43°C)
- 2 ¼ teaspoons (7g) active dry yeast or instant yeast
- ¼ cup (50g) granulated sugar
- 2 large eggs
- 6 tablespoons (85g) unsalted butter, softened
- 1 teaspoon salt
For the Egg Wash:
- 1 egg yolk
- 1 tablespoon milk
III. Equipment Needed
Before you begin, gather the necessary tools to make the process smoother:
- Large mixing bowls
- Stand mixer with dough hook (optional but helpful)
- Measuring cups and spoons
- Baking sheet lined with parchment paper
- Pastry brush
- Plastic wrap or clean kitchen towel
IV. Step-by-Step Instructions
1. Preparing the Dough
Activating the Yeast
Begin by activating the yeast. In a small bowl, mix the warm milk, yeast, and 1 teaspoon of sugar. Let it sit for about 5–10 minutes until foamy. If the mixture does not bubble, the yeast may be inactive, and you should start over with fresh yeast.
Mixing the Ingredients
In a large mixing bowl, combine the flour, remaining sugar, and salt. Add the yeast mixture and eggs, and mix until combined. If using a stand mixer, use the dough hook attachment and knead on low speed for about 5 minutes.
Gradually add the softened butter, one tablespoon at a time, allowing each addition to fully incorporate before adding more. Knead for another 8–10 minutes until the dough is smooth and elastic.
First Rise
Place the dough in a lightly greased bowl, cover with plastic wrap or a clean towel, and let it rise in a warm place for about 1.5–2 hours, or until it doubles in size.
2. Shaping the Rolls
Once the dough has risen, gently punch it down to release excess air. Transfer it to a lightly floured surface and divide it into equal portions (about 12–16 pieces, depending on your preferred size).
Shape each portion into a smooth ball by pulling the edges of the dough toward the bottom and tucking them under. Place the dough balls onto a parchment-lined baking sheet, leaving some space between them to allow for expansion.
Second Rise
Cover the rolls loosely and let them rise for another 45 minutes to an hour until puffy.
3. Baking the Rolls
Applying the Egg Wash
Preheat the oven to 350°F (175°C). In a small bowl, whisk together the egg yolk and milk. Using a pastry brush, gently brush the egg wash over the rolls. This step gives them a golden, glossy finish.
Baking
Bake the rolls for 18–22 minutes, or until they are golden brown on top. If they brown too quickly, loosely cover them with aluminum foil to prevent over-browning.
V. Serving and Storage
Serving Suggestions
- Serve warm with butter, jam, or honey.
- Use as a base for mini sandwiches or sliders.
- Pair with cheese and cold cuts for a savory twist.
- Dip in hot chocolate or coffee for a delightful breakfast treat.
Storage Tips
- Store at room temperature in an airtight container for up to 3 days.
- To keep them fresh longer, freeze in a sealed bag for up to 2 months. Reheat in the oven at 300°F (150°C) for a few minutes before serving.
VI. Variations and Tips
Flavor Variations
- Vanilla or Citrus Zest: Add 1 teaspoon of vanilla extract or grated orange/lemon zest to the dough for extra aroma.
- Chocolate Chip Brioche Rolls: Fold in mini chocolate chips before shaping the rolls.
- Honey or Maple Syrup: Replace some of the sugar with honey or maple syrup for a subtle flavor twist.
- Savory Version: Reduce the sugar and add shredded cheese or herbs for a delicious dinner roll variation.
Baking Tips
- Use a Stand Mixer: While kneading by hand is possible, a stand mixer makes the process easier and ensures a smooth dough.
- Check Dough Consistency: If the dough is too sticky, add a little more flour; if too dry, add a splash of milk.
- Proofing Environment: If your kitchen is cold, place the dough in a slightly warm oven (turned off) with a bowl of warm water to create a humid environment.
VII. Conclusion
Milk brioche rolls are a delightful treat that is well worth the effort to make at home. Their soft, buttery texture and slightly sweet flavor make them perfect for any occasion. Whether enjoyed plain, toasted, or paired with sweet or savory toppings, these rolls are sure to become a household favorite.
By following this guide, you can master the art of making homemade milk brioche rolls and impress your family and friends with bakery-quality bread. Happy baking!