Introduction
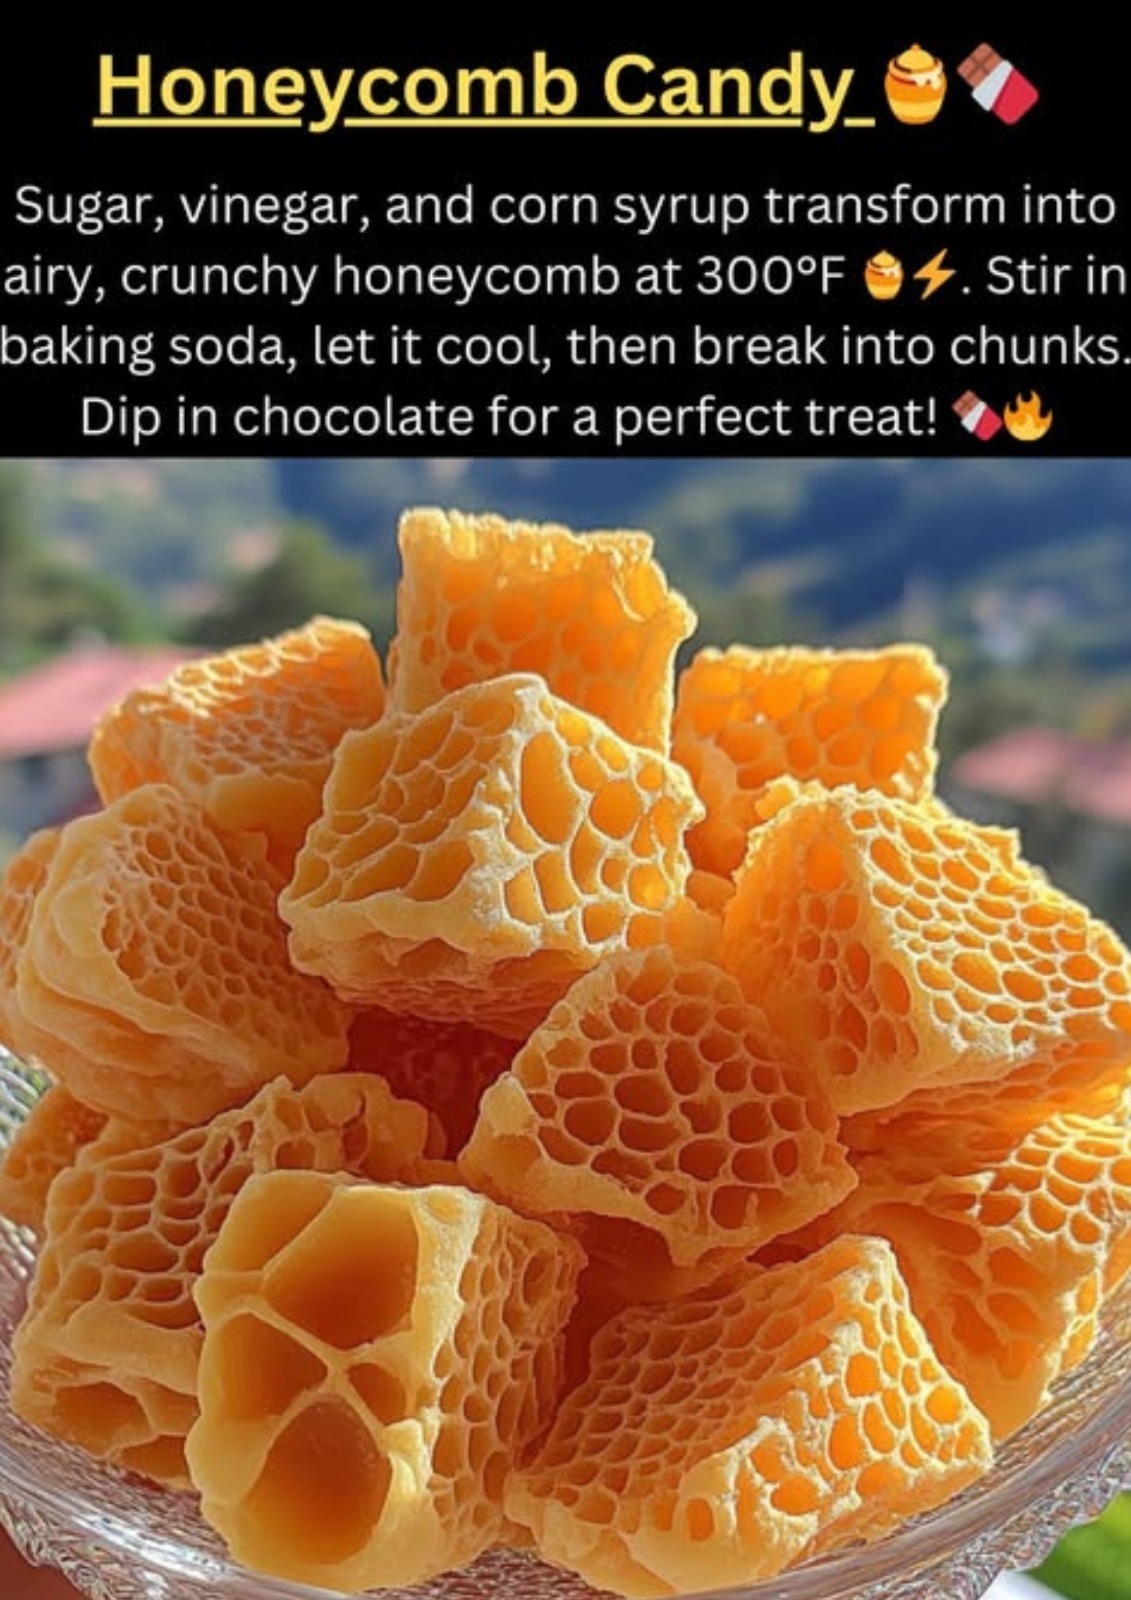
Honeycomb candy, also known as sponge toffee, hokey pokey, or cinder toffee, is a delicious and fun-to-make treat. It has a crispy, airy texture and a deep caramelized flavor. The best part? It requires just a few simple ingredients and comes together in minutes!
This guide will walk you through making honeycomb candy from scratch, along with helpful tips, variations, and storage instructions.
Ingredients
- 1 cup (200g) granulated sugar
- ½ cup (120ml) light corn syrup or golden syrup
- 2 tbsp (30ml) honey (for flavor)
- ¼ cup (60ml) water
- 1½ tsp (7g) baking soda (this creates the airy texture)
- ½ tsp vanilla extract (optional, for extra flavor)
Equipment
- Medium-sized saucepan
- Candy thermometer (highly recommended)
- Whisk
- Heatproof silicone spatula
- 8×8-inch or 9×9-inch baking pan
- Parchment paper
- Cooking spray or butter (for greasing)
Instructions
Step 1: Prepare Your Baking Pan
- Line an 8×8-inch or 9×9-inch baking pan with parchment paper, leaving extra overhang for easy removal.
- Lightly grease with cooking spray or butter to prevent sticking.
Step 2: Heat the Sugar Mixture
- In a medium saucepan, combine the sugar, corn syrup, honey, and water.
- Heat over medium-low heat, stirring gently until the sugar dissolves.
- Once the mixture is smooth, stop stirring and attach a candy thermometer to the side of the pan.
Step 3: Bring to the Right Temperature
- Increase the heat to medium-high and let the mixture boil.
- Allow it to cook until it reaches 300°F (150°C), also known as the hard crack stage.
- This will take about 5-7 minutes.
- Do not stir the mixture while it cooks!
Step 4: Add Baking Soda (The Magic Step!)
- Once the sugar mixture reaches 300°F, remove the pan from heat.
- Quickly add 1½ tsp baking soda, and whisk immediately and vigorously.
- The mixture will foam up dramatically—this is normal!
- As soon as the baking soda is mixed in, immediately pour the foamy mixture into the prepared pan.
Step 5: Let It Cool & Set
- Allow the honeycomb to cool completely at room temperature for about 1 hour.
- Once fully hardened, lift it out using the parchment paper and break it into chunks using your hands or a knife.
How to Store Honeycomb Candy
- Room Temperature: Store in an airtight container for up to 1 week.
- Avoid Humidity: Moisture will cause honeycomb to become sticky, so keep it in a dry place.
- Freezing: Not recommended, as it can lose its crispiness.
Variations & Additions
🔹 Chocolate-Coated Honeycomb: Dip pieces in melted dark, milk, or white chocolate for an extra indulgent treat.
🔹 Salted Honeycomb: Sprinkle with sea salt before it fully sets for a sweet & salty contrast.
🔹 Spiced Honeycomb: Add a pinch of cinnamon, nutmeg, or chili powder for a flavor twist.
🔹 Coffee Honeycomb: Mix ½ tsp instant coffee into the sugar mixture for a rich caramel-coffee taste.
Why You’ll Love This Recipe
✔ Super Easy & Fun – Just a few ingredients and quick prep!
✔ Light, Crunchy, & Delicious – Perfect caramelized flavor.
✔ Versatile Treat – Eat it plain, coat in chocolate, or crumble over desserts.
✔ Great for Gifting – Package in cute jars or bags for a homemade gift.
Common Mistakes & Troubleshooting
❌ Why is my honeycomb too soft?
➡ You may not have cooked the sugar mixture to 300°F. Make sure to use a candy thermometer.
❌ Why is my honeycomb sticky?
➡ Honeycomb absorbs moisture, so store it in an airtight container and keep it dry.
❌ Why didn’t my honeycomb rise?
➡ You may have overmixed after adding baking soda. Stir just enough to incorporate it, then pour immediately.
Final Thoughts
Making homemade Honeycomb Candy is a simple and rewarding process. With just a few pantry ingredients, you can create a crunchy, caramelized treat that’s perfect for snacking, gifting, or using in desserts.
Try it today, and enjoy this light, crispy, golden delight! 🍯✨
Can you write more about it? Your articles are always helpful to me. Thank you! http://www.kayswell.com