Making cheese at home might sound intimidating, but it’s surprisingly simple! With just a few basic ingredients and a bit of patience, you can create fresh, creamy cheese right in your kitchen. One of the easiest types of cheese to make at home is paneer, a fresh Indian cheese that doesn’t require any special equipment or aging process. This recipe will guide you through the steps of making your own homemade paneer, which you can use in various dishes, from curries to salads, or enjoy on its own.
Why Make Homemade Cheese?
- Freshness: Homemade cheese is fresher and creamier than store-bought versions.
- Customization: You can adjust the flavor, texture, and ingredients to your liking.
- Simplicity: With only a few basic ingredients, the process is simple and straightforward.
- No Preservatives: Homemade cheese is free from preservatives and artificial additives.
Ingredients for Homemade Paneer (Indian Fresh Cheese)
- 4 cups whole milk (full-fat milk gives the best results, but any milk works)
- 2-3 tablespoons lemon juice or white vinegar (for curdling the milk)
- 1/2 teaspoon salt (optional, for seasoning)
- Water (optional, for rinsing)
Equipment You’ll Need:
- Heavy-bottomed pot (to heat the milk)
- Cheesecloth or a clean kitchen towel (for draining the curds)
- Strainer (for draining)
- Large bowl (for holding the curds and whey)
- Wooden spoon (for stirring)
- Weight or something heavy (to press the cheese)
Steps to Make Homemade Paneer
Step 1: Heat the Milk
- Prepare the Pot: Pour the 4 cups of milk into a heavy-bottomed pot. The heavy bottom helps prevent the milk from burning.
- Heat the Milk: Slowly heat the milk over medium heat, stirring occasionally to prevent it from sticking to the bottom. Bring the milk to a gentle boil. Once the milk starts to boil, lower the heat.
Step 2: Curdle the Milk
- Add the Acid: Once the milk begins to boil, add lemon juice or vinegar, a little at a time, while stirring gently. You’ll see the milk start to curdle and separate into curds (solid) and whey (liquid). If the milk doesn’t curdle completely after adding the acid, add a little more lemon juice or vinegar, and continue stirring.
- Let it Sit: Turn off the heat and let the milk sit for about 5 minutes. The curds and whey should separate more clearly by this point.
Step 3: Drain the Curds and Whey
- Prepare the Strainer: Place a fine mesh strainer or colander over a large bowl. Drape a piece of cheesecloth or a clean kitchen towel over the strainer. This will help catch the curds and separate them from the whey.
- Drain the Milk: Carefully pour the curdled milk into the strainer. The curds will collect in the cheesecloth, and the whey will drain into the bowl beneath.
- Rinse the Curds: If you want to get rid of the sourness from the lemon or vinegar, gently rinse the curds under cold running water. This will help cool the curds down and remove any remaining acidic taste.
Step 4: Press the Paneer
- Tie the Cheesecloth: Gather the corners of the cheesecloth and tie them into a knot to form a pouch.
- Press the Paneer: Place the pouch of curds on a flat surface and set a weight on top to press it down. This could be a heavy pan, a can of food, or anything that weighs around 2-3 pounds. The more you press, the firmer the paneer will be.
- Let it Set: Allow the cheese to press for at least 30 minutes to an hour, depending on how firm you want your paneer to be. The longer you press, the firmer and drier the paneer will be.
Step 5: Unwrap and Enjoy!
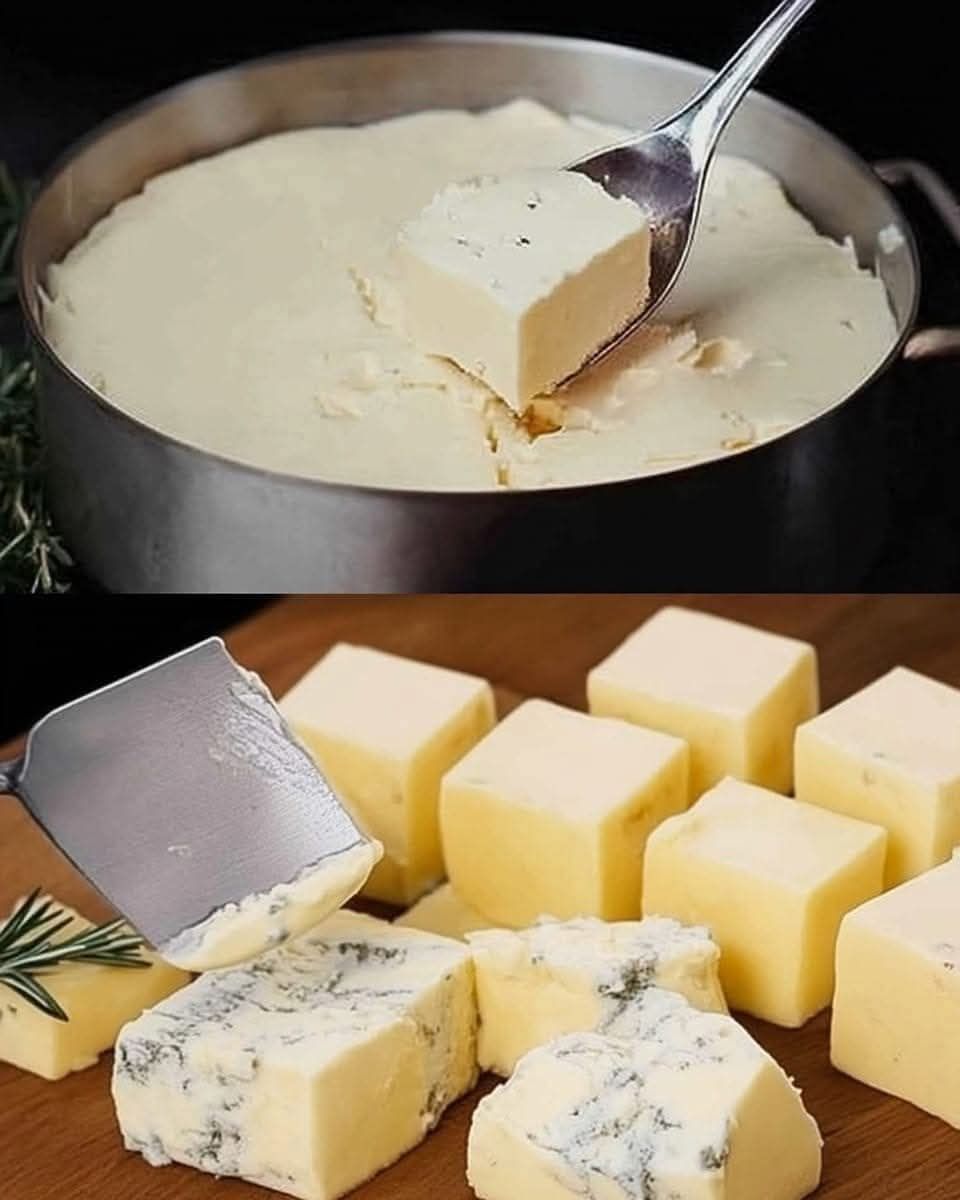
- Unwrap the Cheesecloth: After pressing, carefully unwrap the cheesecloth, and you’ll be left with a block of homemade paneer.
- Cut the Paneer: You can now cut the paneer into cubes or slices, depending on how you plan to use it. It can be used immediately or stored in the fridge for up to 3-4 days.
Tips for Perfect Homemade Paneer
- Milk Quality: The better the milk quality, the better the paneer will taste. Full-fat milk is recommended for a creamier texture.
- Acid Choice: Lemon juice and vinegar work equally well, but lemon juice will give a slightly milder flavor. Use freshly squeezed lemon juice for the best result.
- Pressing: If you want a softer, crumbly paneer, press it lightly for a shorter time. For firmer paneer, press it longer and harder.
- Flavor Variations: Add a pinch of salt to the milk while boiling it if you want to season your paneer slightly. You can also experiment by adding herbs like garlic or thyme while pressing the paneer for a flavored version.
How to Use Homemade Paneer
- Paneer Tikka: Marinate the cubes of paneer in yogurt, spices, and herbs, then grill or bake them for a delicious appetizer.
- Paneer Butter Masala: Paneer is a perfect addition to rich tomato-based curry sauces like the popular Paneer Butter Masala.
- Paneer Bhurji: Scramble the paneer and cook it with spices, onions, and tomatoes for a savory dish often enjoyed with flatbreads.
- Sandwiches or Salads: Cube or slice the paneer and use it in salads or sandwiches for a protein-rich option.
- Paneer Stuffed Paratha: Use the paneer as a stuffing for Indian flatbread (paratha) for a tasty and filling meal.
Storing Homemade Paneer
If you have leftover paneer, store it in an airtight container in the refrigerator for 3-4 days. You can also freeze paneer for longer storage. Simply cut it into cubes, wrap it tightly in plastic wrap, and place it in a freezer-safe bag. It will last for about 1-2 months in the freezer.
Conclusion
Making homemade paneer is an incredibly satisfying and easy process that opens up a world of culinary possibilities. Whether you’re using it in Indian dishes or exploring creative ways to incorporate it into your meals, this fresh cheese is sure to impress. Plus, once you’ve mastered the basics, you can experiment with other cheeses like ricotta, mozzarella, or even a simple goat cheese. So, roll up your sleeves, and enjoy the fresh, creamy taste of your own homemade cheese!