Introduction to Reese’s Peanut Butter Balls: A No-Bake Delight
Craving a sweet, salty, and utterly irresistible treat? Look no further than Reese’s Peanut Butter Balls! These no-bake wonders are the perfect combination of creamy peanut butter and smooth chocolate, offering a delightful explosion of flavor in every bite. Forget complicated recipes and hours in the kitchen; this recipe is simple, quick, and guaranteed to satisfy your sweet tooth. Whether you’re looking for a delicious dessert to share with friends and family or a fun activity to do with kids, Reese’s Peanut Butter Balls are always a winning choice. Prepare to experience peanut butter and chocolate bliss!
Making Perfect Reese’s Peanut Butter Balls
Ingredients You’ll Need
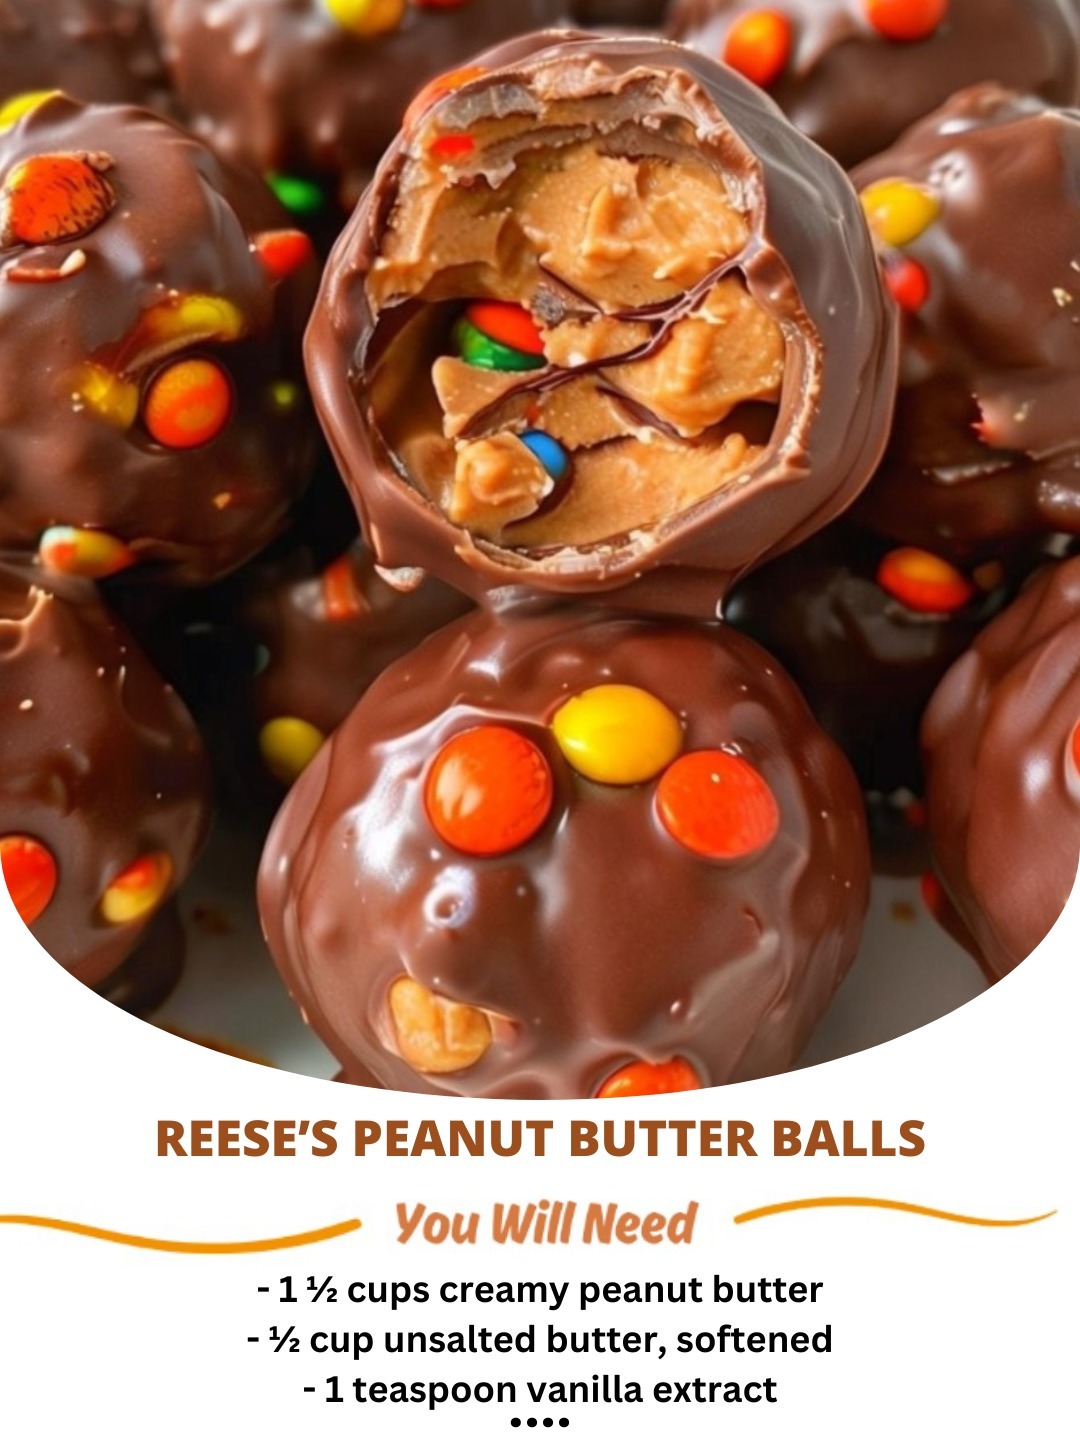
The best part about this recipe is that it uses simple, readily available ingredients. Here’s what you’ll need:
- 1 cup creamy peanut butter (avoid natural peanut butter for best results)
- 1 1/2 cups powdered sugar
- 1/2 cup (1 stick) unsalted butter, softened
- 1 teaspoon vanilla extract
- 12 ounces chocolate chips (milk, dark, or semi-sweet – your choice!)
- 1 tablespoon shortening or coconut oil (optional, for smoother chocolate)
Step-by-Step Instructions: The Process
- Combine Ingredients: In a large bowl, cream together the softened butter and peanut butter until smooth. Gradually add the powdered sugar and vanilla extract, mixing until well combined and a dough forms.
- Shape the Balls: Roll the peanut butter mixture into 1-inch balls. Place them on a parchment-lined baking sheet.
- Chill: Refrigerate the peanut butter balls for at least 30 minutes to firm up. This will make them easier to dip in chocolate.
- Melt the Chocolate: While the balls are chilling, melt the chocolate chips and shortening (if using) in a double boiler or microwave-safe bowl in 30-second intervals, stirring in between until smooth and melted. Be careful not to overheat the chocolate.
- Dip and Decorate: Dip each peanut butter ball into the melted chocolate, ensuring it’s fully coated. Use a fork or dipping tools to remove the ball and gently tap off any excess chocolate. Place the dipped balls back on the parchment-lined baking sheet.
- Decorate (Optional): While the chocolate is still wet, sprinkle with chopped peanuts, sea salt, sprinkles, or any other desired toppings.
- Set and Enjoy: Refrigerate the peanut butter balls for another 15-20 minutes, or until the chocolate is set. Store in an airtight container in the refrigerator.
Tips for Reese’s Peanut Butter Ball Perfection
- Peanut Butter Choice: Use regular creamy peanut butter, not natural peanut butter. Natural peanut butter tends to be too oily and can result in a softer, less stable filling.
- Powdered Sugar: Sifting the powdered sugar beforehand can prevent lumps in the dough.
- Chill Time: Don’t skip the chilling steps! Chilling the balls makes them easier to handle and helps the chocolate set properly.
- Chocolate Consistency: Adding a tablespoon of shortening or coconut oil to the melted chocolate helps to thin it out, creating a smoother, more even coating.
- Melting Chocolate: Be patient when melting the chocolate. Avoid overheating it, as this can cause it to seize up.
- Storage: Store the peanut butter balls in an airtight container in the refrigerator to maintain their shape and freshness. They can last for up to a week.
Variations and Customization
Get creative with your Reese’s Peanut Butter Balls! Here are a few variations to try:
- Chocolate Variety: Experiment with different types of chocolate, such as dark chocolate, white chocolate, or even flavored chocolate chips.
- Topping Options: Get adventurous with toppings! Try crushed pretzels, chopped nuts, sprinkles, sea salt, or even a drizzle of caramel.
- Peanut Butter Swirl: Add a swirl of melted peanut butter to the top of the chocolate before it sets for an extra peanut butter kick.
- Inside Surprise: Hide a miniature Reese’s Peanut Butter Cup inside each ball before dipping it in chocolate.
Conclusion: The Ultimate No-Bake Treat
Reese’s Peanut Butter Balls are a crowd-pleasing dessert that’s easy to make and impossible to resist. With their creamy peanut butter filling and smooth chocolate coating, they’re the perfect treat for any occasion. Whether you’re a seasoned baker or a beginner in the kitchen, this no-bake recipe is a guaranteed success. So, gather your ingredients, follow these simple steps, and get ready to indulge in the ultimate peanut butter and chocolate experience. Enjoy!