Introduction
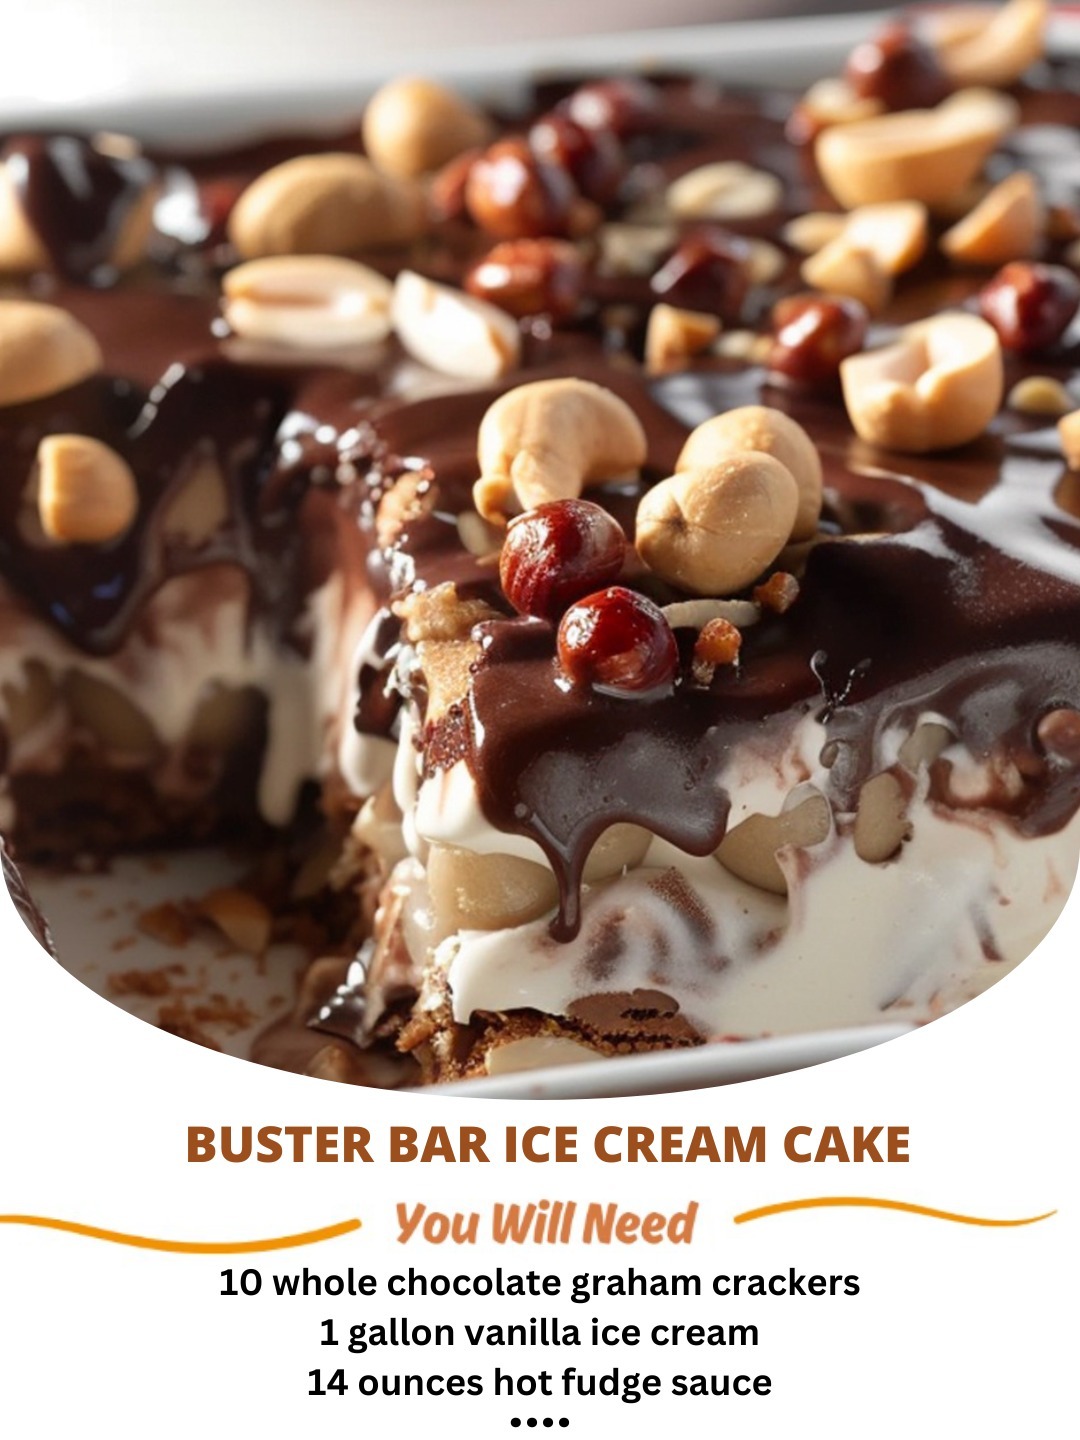
The Buster Bar Ice Cream Cake is a nostalgic treat that evokes memories of childhood summers and special occasions. This no-bake dessert combines layers of creamy vanilla ice cream, crunchy chocolate, peanuts, and a smooth fudge sauce, all resting on a delicious cookie crust. It’s easy to make, customizable, and perfect for satisfying a sweet tooth. Let’s dive into the details of how to create your own version of this classic ice cream cake!
Making Your Own Buster Bar Ice Cream Cake
Gathering Your Ingredients
The beauty of the Buster Bar Ice Cream Cake is its simplicity. Here’s what you’ll need:
- Crust: A package of chocolate sandwich cookies (like Oreos), melted butter
- Ice Cream: Vanilla ice cream (or your favorite flavor!), softened
- Chocolate Layer: Milk chocolate chips, semi-sweet chocolate chips, coconut oil (optional, for smoother melting)
- Peanut Topping: Roasted peanuts, chopped
- Fudge Sauce: Store-bought or homemade fudge sauce
Assembling the Cake
Follow these easy steps to build your Buster Bar Ice Cream Cake:
- Prepare the Crust: Crush the chocolate sandwich cookies in a food processor until they become fine crumbs. Mix the cookie crumbs with melted butter. Press the mixture firmly into the bottom of a springform pan or a baking dish.
- First Ice Cream Layer: Spread half of the softened vanilla ice cream evenly over the crust. Freeze for at least 30 minutes to allow the ice cream to firm up.
- Chocolate Layer: Melt the chocolate chips (milk and semi-sweet) with coconut oil (if using) in the microwave or over a double boiler. Stir until smooth. Let it cool slightly before pouring over the ice cream layer.
- Peanut Sprinkle: Sprinkle the chopped roasted peanuts evenly over the melted chocolate.
- Second Ice Cream Layer: Spread the remaining softened vanilla ice cream over the peanut layer.
- Fudge Sauce Drizzle: Drizzle the fudge sauce generously over the top layer of ice cream.
- Freeze: Cover the cake with plastic wrap and freeze for at least 4 hours, or preferably overnight, to ensure it’s solid.
Tips for Success
- Softening the Ice Cream: Allow the ice cream to soften slightly at room temperature for about 15-20 minutes before spreading. This will make it easier to work with.
- Chocolate Melting: Be careful not to overheat the chocolate, as it can seize up. Melt it in short intervals, stirring frequently.
- Customization: Feel free to experiment with different ice cream flavors, chocolate types, or toppings. Caramel sauce, sprinkles, or other nuts would be delicious additions.
- Cutting: To easily cut the cake, run a knife under hot water before each slice.
- Storage: Store the Buster Bar Ice Cream Cake in the freezer, wrapped tightly in plastic wrap or in an airtight container, for up to a week.
Variations on the Buster Bar Ice Cream Cake
- Peanut Butter Buster Bar: Incorporate peanut butter into the ice cream layer or add a layer of peanut butter cups.
- Caramel Crunch: Drizzle caramel sauce over the chocolate layer or add crushed toffee pieces.
- Mint Chocolate Chip: Use mint chocolate chip ice cream and add some Andes mints to the chocolate layer.
Conclusion
The Buster Bar Ice Cream Cake is a crowd-pleasing dessert that’s perfect for any occasion. With its layers of creamy ice cream, crunchy chocolate and peanuts, and rich fudge sauce, it’s sure to be a hit with kids and adults alike. So, gather your ingredients, follow the steps, and enjoy this delightful homemade version of a classic frozen treat! Remember to personalize it to your taste and create a memorable dessert experience.