Introduction
I’ve always been intimidated by bread baking. It seemed like such a precise and delicate art. But recently, I embarked on a mission to conquer my fear, and I finally cracked the code! I’m thrilled to share my experience learning how to make a loaf that rises beautifully and is unbelievably fluffy. This journey involved some trial and error, but the final result is absolutely worth it. Get ready to bake the best bread you’ve ever tasted!
The Magic Behind the Rise and Fluff
Understanding the Key Ingredients
The secret to a tall and fluffy loaf lies in understanding how each ingredient contributes to the overall texture and rise:
- Flour: Bread flour is a must! Its higher protein content develops more gluten, providing structure and elasticity for the dough to rise properly.
- Yeast: Active dry yeast, instant yeast, or even a sourdough starter – yeast is the leavening agent, producing carbon dioxide that inflates the dough.
- Water: Hydration is crucial! The right amount of water creates a pliable dough that can stretch and expand.
- Salt: Salt not only enhances flavor but also controls the yeast’s activity, preventing it from rising too quickly.
- Sugar (Optional): A touch of sugar provides food for the yeast and contributes to a slightly sweeter flavor.
- Fat (Optional): Adding a little butter or oil tenderizes the crumb and adds richness.
The Kneading Process: Developing Gluten
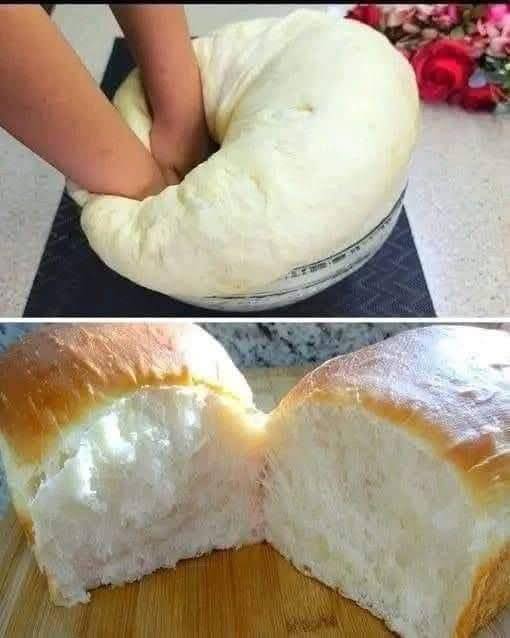
Kneading is essential for developing the gluten network. This network traps the gases produced by the yeast, allowing the dough to rise. Here’s how I learned to properly knead the dough:
- Start by combining the ingredients in a bowl.
- Turn the dough out onto a lightly floured surface.
- Push, fold, and turn the dough repeatedly for 8-10 minutes until it becomes smooth and elastic. The windowpane test (stretching a small piece of dough thin enough to see light through it without tearing) is a good indicator of sufficient kneading.
The Importance of Proofing: Letting the Dough Rise
Proofing is the process of allowing the dough to rise in a warm place. This allows the yeast to ferment and produce carbon dioxide. Here’s what I learned about proofing:
- First Proof: Place the kneaded dough in a lightly oiled bowl, cover it, and let it rise in a warm place for 1-2 hours, or until doubled in size.
- Punching Down: Gently punch down the dough to release the accumulated gases.
- Second Proof: Shape the dough into a loaf, place it in a greased loaf pan, cover it, and let it rise again for 30-60 minutes, or until nearly doubled in size.
Baking to Perfection: Achieving the Golden Crust
Baking is where the magic truly happens! The oven’s heat sets the gluten structure and creates the beautiful golden crust. Here’s my baking method:
- Preheat your oven to 375°F (190°C).
- Bake the loaf for 30-40 minutes, or until golden brown and the internal temperature reaches 200-210°F (93-99°C).
- Let the bread cool in the pan for 10 minutes before transferring it to a wire rack to cool completely. This prevents the bottom from getting soggy.
Troubleshooting Common Issues
Even with the best instructions, baking can present challenges. Here are some problems I encountered and how I overcame them:
- Dough not rising: Make sure your yeast is fresh and active. Check the water temperature – it shouldn’t be too hot or too cold.
- Bread too dense: Over-kneading or under-proofing can result in dense bread.
- Crust too dark: Reduce the oven temperature slightly or cover the loaf loosely with foil during the last 15 minutes of baking.
Conclusion
Learning to bake a loaf of bread that rises spectacularly and is incredibly fluffy has been a rewarding experience. Don’t be discouraged by initial failures; with practice and patience, you too can master the art of bread baking. The aroma of freshly baked bread filling your home and the satisfaction of creating something delicious from scratch is truly unbeatable. Now go forth and bake!