Introduction
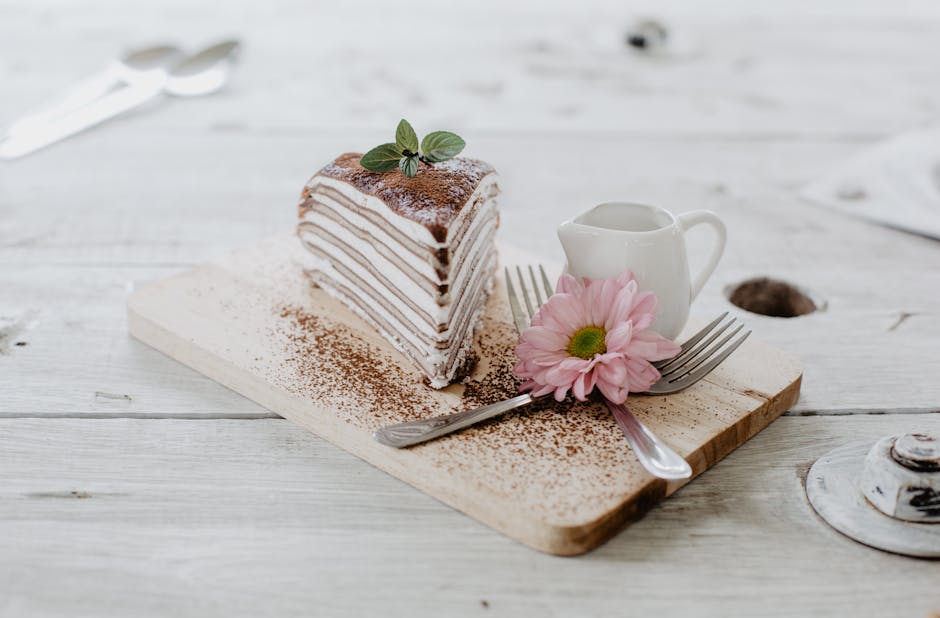
Indulge in the decadent delight of a homemade silky chocolate cream pie. This classic dessert is surprisingly easy to make and is guaranteed to impress your family and friends. With its rich, chocolatey filling and light, airy whipped cream topping, it’s the perfect treat for any occasion. This guide will walk you through each step, ensuring your success in creating a pie that’s truly irresistible.
Making the Perfect Silky Chocolate Cream Pie
Choosing Your Crust
The foundation of any great pie is its crust. You have a few options:
- Homemade Pie Crust: This offers the most control over flavor and texture. Consider a classic butter crust or a chocolate cookie crust for an extra chocolatey kick.
- Store-Bought Pie Crust: A convenient option for saving time. Look for pre-made crusts that are specifically labeled for pies.
- Oreo Cookie Crust: A delicious and easy no-bake option. Simply crush Oreo cookies and mix with melted butter, then press into your pie plate.
No matter which crust you choose, be sure to pre-bake it according to the recipe or package instructions before adding the filling.
Crafting the Rich Chocolate Filling
This is where the magic happens! Here’s how to create a velvety smooth chocolate filling:
- Combine Ingredients: In a saucepan, whisk together sugar, cornstarch, cocoa powder, and salt. This ensures the cocoa powder is evenly distributed and prevents lumps.
- Add Liquids: Gradually whisk in milk and heavy cream until smooth.
- Cook and Thicken: Cook over medium heat, stirring constantly, until the mixture comes to a boil and thickens significantly. Continue cooking for 1 minute more, stirring vigorously.
- Remove from Heat: Take the saucepan off the heat and stir in chopped chocolate and vanilla extract until the chocolate is completely melted and the filling is smooth and glossy.
- Pour and Chill: Pour the warm filling into your prepared pie crust. Cover with plastic wrap, pressing it directly onto the surface of the filling to prevent a skin from forming. Refrigerate for at least 4 hours, or preferably overnight, to allow the filling to set completely.
Creating the Dreamy Whipped Cream Topping
A light and airy whipped cream is the perfect complement to the rich chocolate filling:
- Chill Everything: Make sure your bowl and whisk attachment are well-chilled for best results. This helps the cream whip up quickly and easily.
- Whip the Cream: In your chilled bowl, combine heavy cream, powdered sugar, and vanilla extract. Beat with an electric mixer on medium speed until stiff peaks form. Be careful not to overwhip!
- Assemble and Enjoy: Once the pie filling is set, spread the whipped cream evenly over the top. Garnish with chocolate shavings, cocoa powder, or fresh berries, if desired. Serve chilled and enjoy!
Tips for Silky Smooth Success
- Use High-Quality Chocolate: The quality of your chocolate directly impacts the flavor of your pie. Choose a good quality semi-sweet or dark chocolate for the best results.
- Don’t Skip the Cornstarch: Cornstarch is essential for thickening the filling and giving it that silky smooth texture.
- Stir Constantly: Constant stirring during the cooking process prevents the filling from scorching and ensures even thickening.
- Be Patient: Allow the pie filling to chill completely before adding the whipped cream topping. This ensures the filling is firm and stable.
Conclusion
Making a silky chocolate cream pie might seem intimidating, but with this guide, you’ll be well on your way to creating a show-stopping dessert. By following these simple steps and tips, you can impress your loved ones with a pie that’s rich, decadent, and utterly delicious. So, gather your ingredients, preheat your oven (or not, if you’re using a no-bake crust!), and get ready to bake a pie that’s sure to become a family favorite. Enjoy!
