Introduction
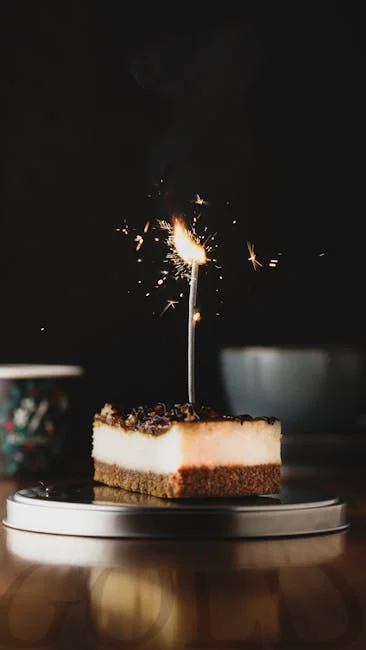
Planning a party or special occasion? Looking for a crowd-pleasing dessert that’s both delicious and easy to serve? Look no further than mini cheesecakes! These bite-sized treats are the perfect solution for satisfying sweet cravings without the commitment of a full-sized cheesecake. They’re elegant, versatile, and can be customized to suit any taste preference. This article will guide you through everything you need to know about making and serving mini cheesecakes for your next gathering, ensuring a delightful and memorable dessert experience for your guests.
Main Sections
Why Choose Mini Cheesecakes?
Mini cheesecakes offer a multitude of advantages compared to their larger counterparts:
- Portion Control: They’re individually sized, making it easy for guests to indulge without overdoing it.
- Variety: You can easily create a variety of flavors and toppings to cater to different preferences.
- Elegant Presentation: They look sophisticated and can be beautifully arranged on a dessert table.
- Convenience: No slicing required! Guests can easily grab and enjoy.
- Easy to Make Ahead: Mini cheesecakes can be made a day or two in advance, freeing up your time on the day of the event.
Essential Ingredients and Equipment
Before you start baking, make sure you have the following essentials:
- For the Crust:
- Graham crackers (or digestive biscuits)
- Melted butter
- Sugar (optional)
- For the Filling:
- Cream cheese (full-fat, softened)
- Sugar
- Eggs
- Vanilla extract
- Sour cream (optional, for a richer flavor)
- Lemon juice (optional, for a tangy flavor)
- Equipment:
- Muffin tin (standard or mini size)
- Paper liners (optional, for easy removal)
- Mixing bowls
- Electric mixer (handheld or stand mixer)
- Measuring cups and spoons
- Food processor (for crushing graham crackers) or ziplock bag and rolling pin
Basic Mini Cheesecake Recipe
This recipe provides a foundation for creating a wide variety of mini cheesecakes. Feel free to experiment with different flavors and toppings!
- Prepare the Crust:
- Preheat oven to 350°F (175°C).
- Crush graham crackers into fine crumbs.
- Combine graham cracker crumbs with melted butter and sugar (if using).
- Press the mixture firmly into the bottom of each muffin cup.
- Make the Filling:
- In a large bowl, beat cream cheese until smooth and creamy.
- Gradually add sugar and continue beating until well combined.
- Beat in eggs one at a time, mixing until just combined. Be careful not to overmix.
- Stir in vanilla extract and sour cream (if using).
- Bake the Cheesecakes:
- Pour the filling evenly into the prepared muffin cups.
- Bake for 18-22 minutes, or until the edges are set and the centers are slightly wobbly.
- Turn off the oven and crack the door slightly. Let the cheesecakes cool in the oven for 30 minutes to prevent cracking.
- Remove from the oven and let cool completely before refrigerating for at least 2 hours.
Flavor Variations and Topping Ideas
Get creative with these flavor and topping combinations to impress your guests:
- Chocolate: Add melted chocolate to the cheesecake filling or drizzle with chocolate ganache.
- Lemon: Add lemon zest and juice to the filling for a refreshing citrus flavor. Top with lemon curd.
- Strawberry: Swirl strawberry puree into the filling or top with fresh strawberries.
- Caramel: Drizzle with caramel sauce and sprinkle with sea salt.
- Oreo: Add crushed Oreos to the crust and filling.
- Berry Medley: Top with a mix of fresh berries like blueberries, raspberries, and blackberries.
- Peanut Butter: Swirl peanut butter into the filling or drizzle with melted peanut butter.
Tips for Perfect Mini Cheesecakes
Follow these tips to ensure your mini cheesecakes turn out perfectly every time:
- Use softened cream cheese: This will ensure a smooth and lump-free filling.
- Don’t overmix the batter: Overmixing can incorporate too much air and cause the cheesecakes to crack.
- Bake at a low temperature: This helps to prevent cracking.
- Cool slowly: Gradual cooling helps to prevent cracking.
- Refrigerate for at least 2 hours: This allows the cheesecakes to set properly.
Serving and Storage
Here’s how to best serve and store your delicious mini cheesecakes:
- Serving: Serve chilled. You can garnish with fresh fruit, whipped cream, or chocolate shavings.
- Storage: Store in an airtight container in the refrigerator for up to 3-4 days.
- Freezing: Mini cheesecakes can be frozen for up to 2 months. Wrap them individually in plastic wrap and then place them in a freezer-safe bag or container. Thaw in the refrigerator overnight.
Conclusion
Mini cheesecakes are a delightful and versatile dessert that’s perfect for parties and special occasions. With their individual portions, customizable flavors, and elegant presentation, they’re sure to be a hit with your guests. So, gather your ingredients, follow our tips, and get ready to bake up some delicious mini cheesecakes that will leave a lasting impression!
