Introduction
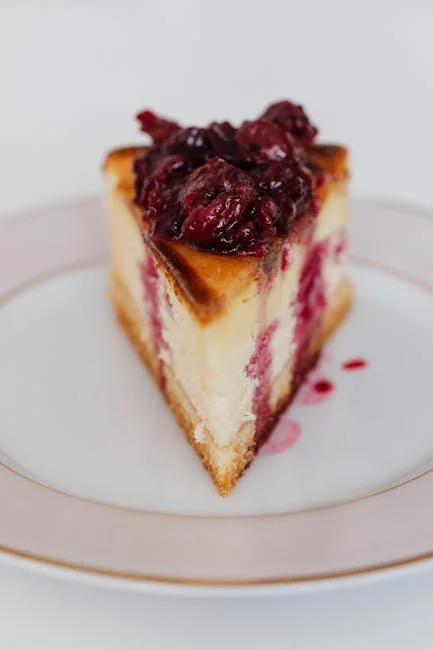
Craving that rich, decadent, melt-in-your-mouth goodness that only a New York-style cheesecake can provide? Look no further! This guide provides the ultimate recipe for creating a truly authentic New York-style cheesecake in the comfort of your own kitchen. We’ll break down each step, offering tips and tricks to ensure a perfect bake and a cheesecake that rivals even the best NYC bakeries.
The Ultimate New York-Style Cheesecake Recipe: A Step-by-Step Guide
Gather Your Ingredients
Quality ingredients are key to achieving that signature New York cheesecake texture and flavor. Here’s what you’ll need:
- For the Crust:
- 1 1/2 cups graham cracker crumbs
- 5 tablespoons unsalted butter, melted
- 1/4 cup granulated sugar
- For the Filling:
- 32 ounces (4 packages) cream cheese, softened to room temperature
- 1 3/4 cups granulated sugar
- 1/4 cup all-purpose flour
- 1 teaspoon vanilla extract
- 1/4 teaspoon lemon zest (optional, but recommended)
- 4 large eggs
- 1 cup heavy cream
Preparing the Crust
- Preheat your oven to 350°F (175°C).
- In a medium bowl, combine the graham cracker crumbs, melted butter, and sugar. Mix well until evenly moistened.
- Press the mixture firmly into the bottom of a 9-inch springform pan. You can use the bottom of a measuring cup to ensure an even and compact crust.
- Bake the crust for 8-10 minutes, or until lightly golden brown. Let it cool completely before adding the filling.
Making the Creamy Filling
- Reduce oven temperature to 325°F (160°C).
- In a large bowl (or using a stand mixer fitted with the paddle attachment), beat the softened cream cheese until smooth and creamy. This is crucial to avoid lumps in your cheesecake!
- Gradually add the sugar and flour, beating until well combined and smooth. Avoid over-mixing at this stage, as it can incorporate too much air.
- Stir in the vanilla extract and lemon zest (if using).
- Add the eggs one at a time, mixing on low speed until just combined after each addition. Again, avoid over-mixing.
- Slowly pour in the heavy cream and mix until just combined. The batter should be smooth and creamy.
Baking the Cheesecake to Perfection
Water bath baking is essential for achieving a perfectly moist and crack-free New York-style cheesecake.
- Wrap the bottom of your springform pan tightly with heavy-duty aluminum foil (or two layers of regular foil) to prevent water from seeping in.
- Place the wrapped springform pan inside a larger roasting pan.
- Pour the cream cheese filling into the cooled crust.
- Carefully pour hot water into the roasting pan, reaching about halfway up the sides of the springform pan.
- Bake in the preheated oven for 60-75 minutes, or until the edges are set and the center is slightly jiggly.
- Turn off the oven and leave the cheesecake inside to cool completely for at least 1 hour with the oven door slightly ajar. This allows the cheesecake to cool slowly and prevents cracking.
- Remove the cheesecake from the water bath and let it cool completely at room temperature.
- Cover the cheesecake with plastic wrap and refrigerate for at least 6 hours, or preferably overnight, to allow it to fully set.
Serving Your Masterpiece
- Before serving, run a thin knife around the edge of the cheesecake to loosen it from the pan.
- Release the springform pan and carefully remove the cheesecake.
- Slice and serve!
Tips for Success
- Use room temperature cream cheese: This is absolutely crucial for a smooth and creamy texture.
- Avoid over-mixing: Over-mixing incorporates too much air and can cause the cheesecake to puff up and crack during baking.
- Water bath is essential: The water bath provides even heat and moisture, preventing the cheesecake from drying out and cracking.
- Cool slowly: Allowing the cheesecake to cool slowly in the oven helps to prevent cracking.
- Chill completely: Refrigerating the cheesecake for at least 6 hours allows it to fully set and develop its flavor.
Conclusion
Congratulations! You’ve just created the ultimate New York-style cheesecake. This recipe delivers a rich, creamy, and decadent dessert that is sure to impress. So go ahead, indulge in a slice (or two!) and enjoy the fruits of your labor. Don’t forget to share your creations and tag us in your photos!
Heya i抦 for the first time here. I found this board and I find It really useful & it helped me out a lot. I hope to give something back and aid others like you aided me.
Hello! This post couldn’t be written any better! Reading through this post reminds me of my previous room mate! He always kept talking about this. I will forward this page to him. Fairly certain he will have a good read. Thank you for sharing!
I discovered your blog website on google and examine just a few of your early posts. Continue to keep up the superb operate. I simply extra up your RSS feed to my MSN Information Reader. In search of forward to reading more from you afterward!?
I have seen that today, more and more people are being attracted to camcorders and the area of photography. However, to be a photographer, you should first invest so much time deciding which model of camera to buy and moving from store to store just so you could possibly buy the cheapest camera of the trademark you have decided to choose. But it won’t end right now there. You also have to contemplate whether you should purchase a digital digicam extended warranty. Thanks alot : ) for the good guidelines I obtained from your web site.
I have seen that smart real estate agents everywhere you go are warming up to FSBO Promoting. They are seeing that it’s not just placing a poster in the front yard. It’s really in relation to building relationships with these dealers who later will become purchasers. So, whenever you give your time and efforts to encouraging these sellers go it alone : the “Law associated with Reciprocity” kicks in. Good blog post.