Introduction
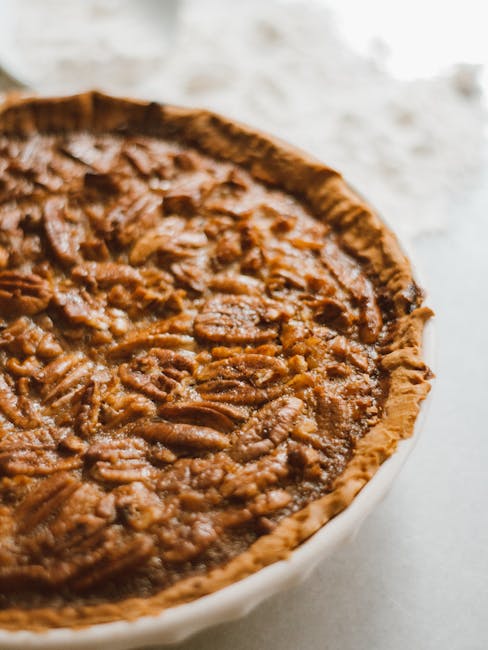
Nothing says “home” quite like a classic American apple pie with a perfectly flaky butter crust. This timeless dessert is a crowd-pleaser, perfect for holidays, celebrations, or simply a cozy night in. We’re going to guide you through creating your own masterpiece, from selecting the best apples to achieving that coveted golden-brown crust. Prepare to impress your friends and family with this irresistible treat!
The Anatomy of a Perfect Apple Pie
Choosing the Right Apples
The secret to a truly delicious apple pie lies in using a variety of apples. Different apples offer different textures and flavors that complement each other beautifully. Here are some excellent choices:
- Granny Smith: Tart and firm, providing structure and tanginess.
- Honeycrisp: Sweet and crisp, adding a delightful sweetness and juicy texture.
- Gala: Mildly sweet and slightly soft, lending a subtle sweetness and soft bite.
- Braeburn: Sweet-tart and complex, bringing a depth of flavor.
- Fuji: Sweet, crisp and juicy; it will not mush in the oven.
Experiment with combinations to find your perfect apple blend. Aim for a mix of sweet, tart, and firm apples for the best results.
Crafting the Flakiest Butter Crust
A flaky butter crust is essential for a memorable apple pie. Here’s how to achieve pie crust perfection:
- Use Cold Ingredients: Keep your butter, water, and even your flour cold. Cold butter prevents gluten development, resulting in a tender and flaky crust.
- Cut in the Butter Properly: Use a pastry blender or your fingertips to cut the cold butter into the flour until the mixture resembles coarse crumbs. Small pieces of butter create steam during baking, separating the flour layers and creating flakiness.
- Add Water Gradually: Add ice water a tablespoon at a time, mixing gently until the dough just comes together. Overmixing will develop gluten and result in a tough crust.
- Chill the Dough: Wrap the dough in plastic wrap and refrigerate for at least 30 minutes (or up to 2 hours) before rolling. This allows the gluten to relax and the butter to firm up, making the dough easier to handle.
- Roll Out Evenly: Roll the dough out on a lightly floured surface to about 1/8 inch thickness.
- Blind Bake (Optional): For a crispier bottom crust, consider blind baking the bottom crust before adding the filling. Line the crust with parchment paper, fill with pie weights or dried beans, and bake at 375°F (190°C) for 15-20 minutes.
Making the Delicious Apple Filling
The apple filling is where the magic happens. Here’s how to create a flavor explosion:
- Peel and Slice: Peel, core, and slice the apples into about 1/4-inch thick slices.
- Spice it Up: Combine the apples with sugar, flour (or cornstarch), cinnamon, nutmeg, and a pinch of salt. A touch of lemon juice can brighten the flavors.
- Adjust Sweetness: Taste the apple mixture and adjust the sugar according to your preference and the sweetness of the apples.
- Thickening Power: Flour or cornstarch will help thicken the juices as the pie bakes, preventing a soggy bottom crust.
Assembling and Baking Your Pie
Now, let’s put it all together:
- Preheat Oven: Preheat your oven to 375°F (190°C).
- Fill the Crust: Pour the apple filling into the prepared pie crust.
- Top Crust Options: Choose your top crust style: a full crust, a lattice crust, or streusel topping.
- Egg Wash (Optional): Brush the top crust with an egg wash (egg beaten with a tablespoon of water) for a golden-brown, shiny finish.
- Bake: Bake for 45-60 minutes, or until the crust is golden brown and the filling is bubbling. If the crust starts to brown too quickly, cover the edges with foil.
- Cool Completely: Let the pie cool completely before slicing and serving. This allows the filling to set properly.
Conclusion
Congratulations! You’ve created a classic American apple pie with a flaky butter crust. This recipe is a great starting point, but feel free to experiment with different apple varieties, spices, and crust designs to make it your own. Enjoy the comforting flavors and the satisfaction of baking this timeless dessert. Share it with loved ones and create lasting memories, one slice at a time. Happy Baking!
