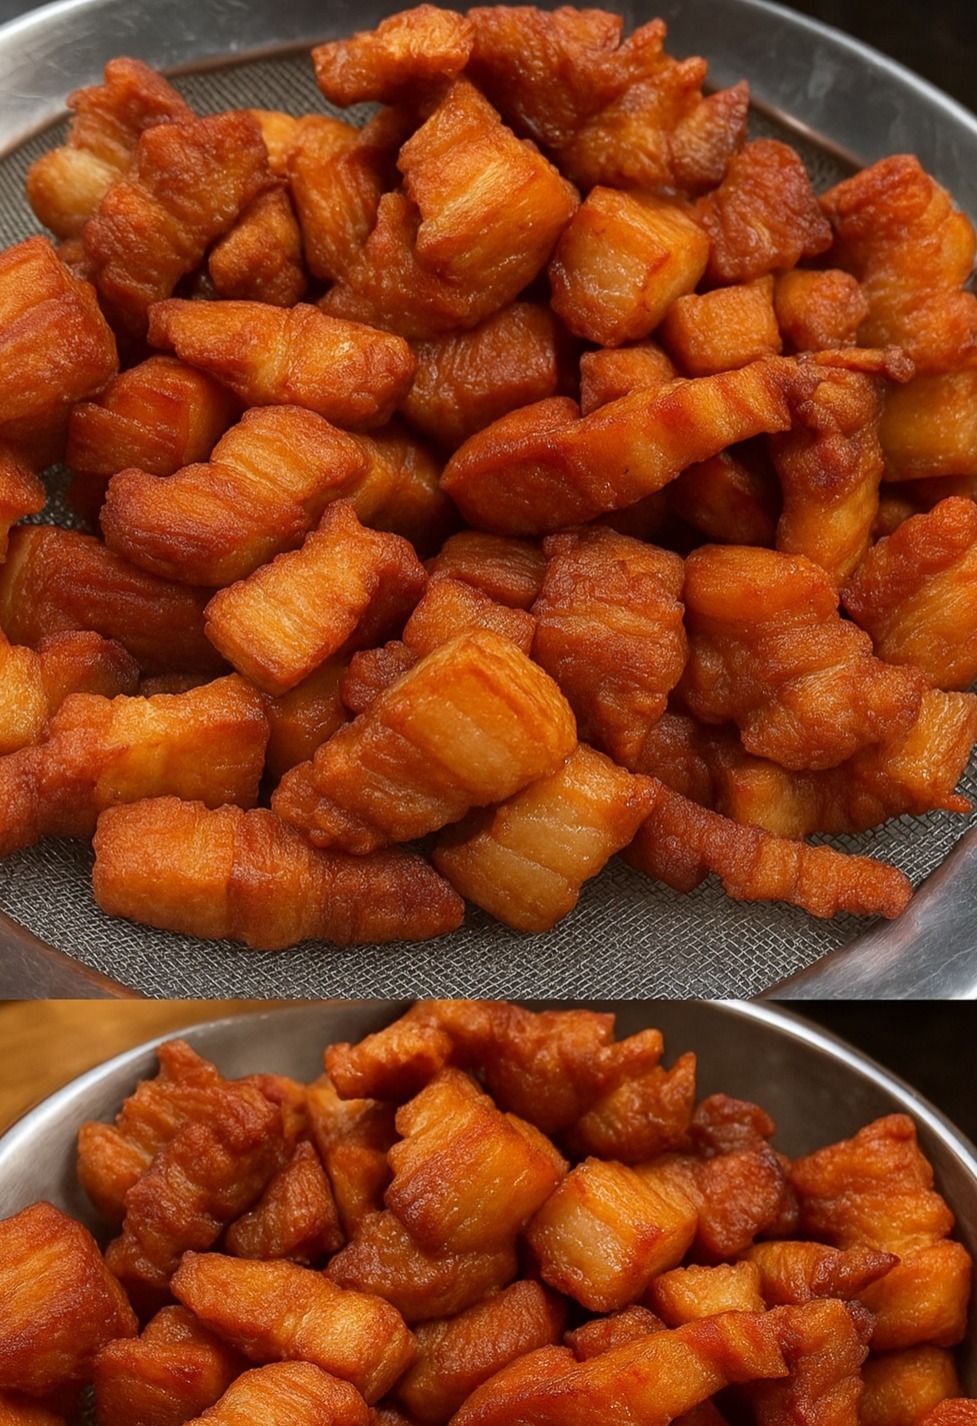
Ever crave that satisfying crunch of perfectly cooked pork rinds? Those light, airy, and intensely flavorful snacks are surprisingly simple to make at home. Forget the store-bought bags loaded with preservatives; with a little know-how, you can create crispy, dry pork rinds that rival any you’ve ever tasted. This guide will walk you through the process, step-by-step, ensuring your homemade pork rinds are a resounding success.
The Secret to Perfect Crispy Pork Rinds
So, what makes a pork rind truly exceptional? It’s all about achieving that perfect balance of crispy texture and dry interior. We’ll break down the key elements and techniques to ensure your pork rinds are never chewy or greasy.

Choosing the Right Pork Skin
The quality of your pork skin directly impacts the final product. Opt for pork skin that is:
- Fresh: Look for skin that is vibrant in color and doesn’t have any off-putting smells.
- Evenly Cut: Thinner, more uniform pieces will cook more evenly and yield crispier results.
- Free of Excess Fat: While some fat is essential for flavor, too much can lead to greasy rinds. Trim off any large clumps.
You can typically find pork skin at your local butcher or specialty grocery store. Don’t be afraid to ask them for help selecting the best cut!

Preparing the Pork Skin
Proper preparation is crucial for achieving crispy results. Here’s what you need to do:
- Clean Thoroughly: Rinse the pork skin under cold water to remove any debris.
- Remove Excess Moisture: Pat the skin completely dry with paper towels. This is vital for crispy rinds.
- Cut into Bite-Sized Pieces: Cut the skin into 1-2 inch pieces for easier handling and cooking.
- Optional: Seasoning: Seasoning at this stage allows the flavors to penetrate the skin. Simple salt and pepper works great.

The Two-Stage Cooking Process
The secret to truly crispy and dry pork rinds lies in a two-stage cooking process. This involves rendering the fat at a low temperature followed by a high-temperature blast to crisp the skin.
Low Temperature Render
This step is all about slowly rendering the fat from the pork skin without burning it. You can achieve this in a few ways:
- Oven: Preheat your oven to 250°F (120°C). Spread the pork skin pieces on a baking sheet lined with parchment paper. Bake for 2-3 hours, or until the skin is translucent and the fat has rendered out.
- Air Fryer: Air fry at 250°F (120°C) for 1.5-2 hours, checking periodically.
High Temperature Crisp
Now comes the magic! This high-temperature step is where the pork skin transforms into crispy, airy rinds.
- Oven: Increase the oven temperature to 400°F (200°C). Bake for 10-15 minutes, or until the skin is puffed and golden brown. Watch closely to prevent burning!
- Air Fryer: Increase the air fryer temperature to 400°F (200°C) and cook for 5-7 minutes, or until crispy.
- Deep Frying: Heat oil to 375°F (190°C). Fry in small batches for 1-2 minutes, until puffed and crispy. Be careful of splattering oil!
Serving and Storing Your Homemade Pork Rinds
Once your pork rinds are crispy and golden brown, remove them from the oven or fryer and let them cool completely on a wire rack. This allows excess oil to drain and helps them maintain their crispness.

Serving Suggestions
- Enjoy them as a standalone snack!
- Pair them with your favorite dips, like guacamole or salsa.
- Crush them and use them as a crunchy topping for salads or soups.
Storage Tips
Store your homemade pork rinds in an airtight container at room temperature for up to a week. If they lose their crispness, you can briefly reheat them in a low oven or air fryer to restore their texture.

Conclusion
Making crispy and dry pork rinds at home is a rewarding experience. By choosing the right pork skin, preparing it properly, and utilizing the two-stage cooking process, you can create a delicious and satisfying snack that’s far superior to anything you can buy in a store. So, ditch the processed stuff and give this recipe a try. You might just find yourself with a new favorite homemade treat!