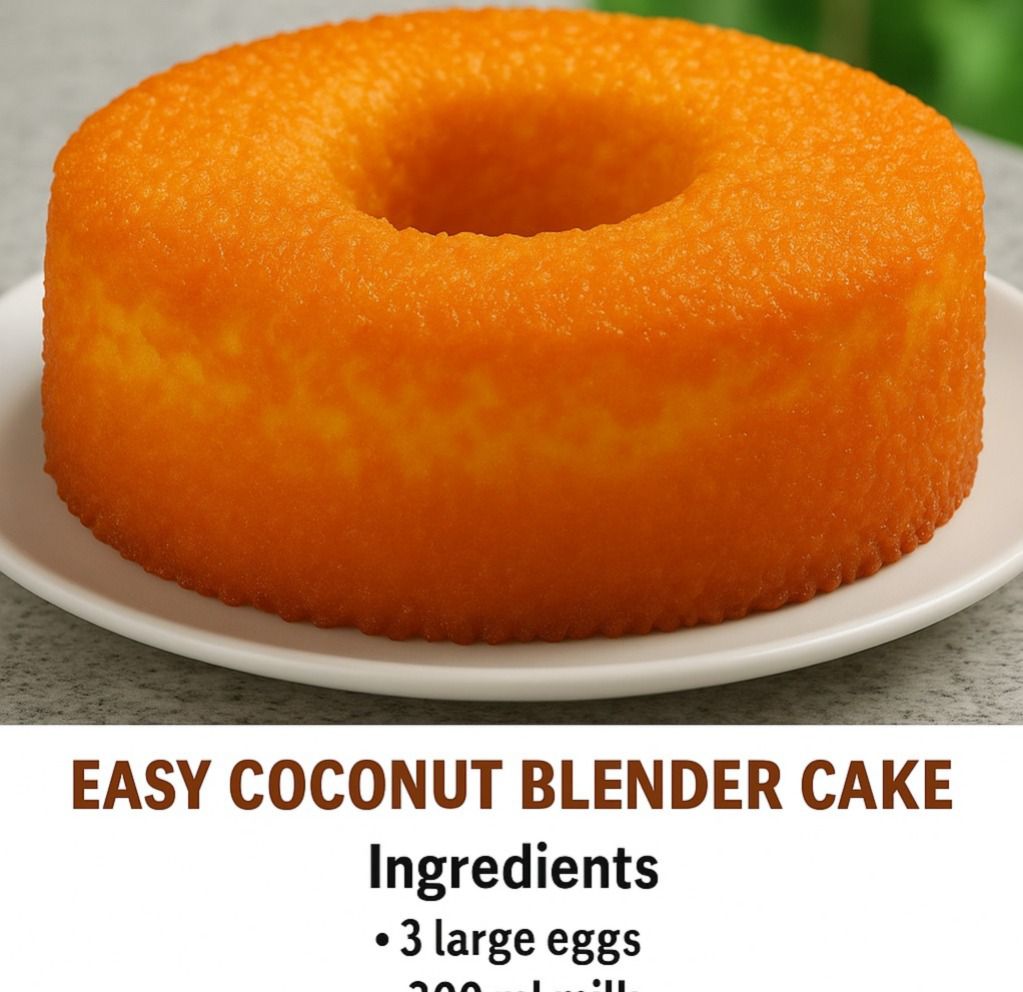
Craving Cake? This Easy Coconut Blender Cake is Your Answer!
Who says you need to spend hours in the kitchen to enjoy a delicious, moist, and flavorful cake? This easy coconut blender cake recipe is a game-changer. It’s unbelievably simple, requiring minimal ingredients and, you guessed it, a blender! Perfect for a quick dessert, a potluck offering, or just because you deserve something yummy. Get ready to whip up a cake that’s both incredibly easy and unbelievably delicious.
**
The Magic of a Blender Cake
What’s so special about a blender cake, you ask? It’s all about convenience and speed. Instead of meticulously creaming butter and sugar, or sifting flour, you simply toss all the ingredients into a blender and let it do the hard work. The result is a beautifully combined batter that bakes into a light and airy cake with a fantastic texture. This recipe also highlights the tropical flavor of coconut, making it a delightful treat.
**
Why Coconut is the Star
Coconut adds a wonderful depth of flavor and moistness to this cake. We’re using coconut milk and shredded coconut for maximum coconutty goodness.
* **Coconut Milk:** Provides richness and a subtle sweetness.
* **Shredded Coconut:** Adds texture and intensifies the coconut flavor.
Don’t be afraid to experiment with different types of coconut! Toasted coconut flakes would add a nice crunch to the top.
**
The Basic Ingredients You’ll Need
Here’s a quick rundown of the ingredients you’ll need for this easy coconut blender cake:
* Eggs
* Sugar
* Coconut milk
* All-purpose flour
* Baking powder
* Shredded coconut
* Vanilla extract
That’s it! See? Minimal ingredients for maximum flavor.
**
Step-by-Step: Making Your Coconut Blender Cake
Ready to bake? Follow these simple steps and you’ll have a delicious cake in no time.
1. **Preheat the oven:** Preheat your oven to 350°F (175°C). Grease and flour a cake pan (usually a 9-inch round pan works best).
2. **Blend the wet ingredients:** In your blender, combine the eggs, sugar, and coconut milk. Blend until smooth.
3. **Add the dry ingredients:** Add the flour, baking powder, shredded coconut, and vanilla extract to the blender. Blend until just combined. Be careful not to over-blend.
4. **Pour and bake:** Pour the batter into the prepared cake pan. Bake for 30-35 minutes, or until a toothpick inserted into the center comes out clean.
5. **Cool and enjoy:** Let the cake cool in the pan for 10 minutes before inverting it onto a wire rack to cool completely.
**
Tips for a Perfect Blender Cake
Here are a few tips to ensure your coconut blender cake comes out perfectly every time:
* **Don’t over-blend:** Over-blending can lead to a tough cake. Blend until the ingredients are just combined.
* **Grease and flour the pan thoroughly:** This will prevent the cake from sticking to the pan.
* **Let the cake cool completely:** This will prevent it from crumbling when you slice it.
* **Experiment with toppings:** Dust with powdered sugar, drizzle with coconut glaze, or top with fresh fruit.
**
Variations and Delicious Twists
Want to add a little something extra to your coconut blender cake? Here are a few ideas:
* **Add Pineapple:** Fold in diced pineapple for a tropical twist.
* **Chocolate Chips:** Incorporate chocolate chips for a chocolate-coconut combination.
* **Lime Zest:** Add a touch of lime zest for a bright, citrusy flavor.
* **Toasted Coconut:** Sprinkle toasted coconut flakes on top of the cake before baking for added texture and flavor.
**
Enjoy Your Homemade Coconut Cake!
This easy coconut blender cake is a simple yet satisfying treat that’s perfect for any occasion. With minimal effort and a handful of ingredients, you can create a delicious and flavorful cake that everyone will love. So, grab your blender and get baking! This will quickly become your go-to recipe when you need a quick and delicious cake. And feel free to share your creations and variations with friends and family – baking is always better together!
**