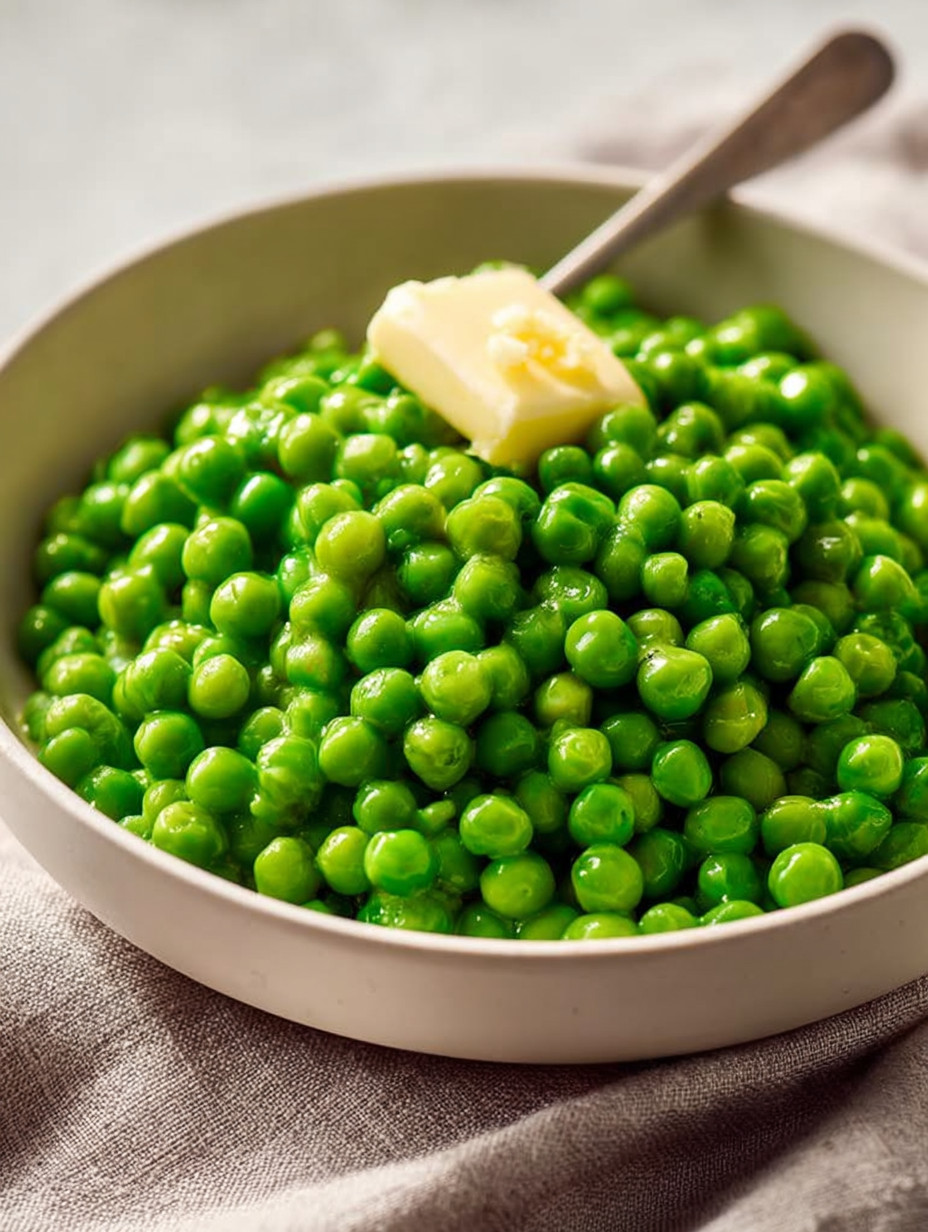
Quick & Delicious: Frozen Peas with Garlic Butter
Looking for a simple yet satisfying side dish? Frozen peas with garlic butter might just be your new go-to! This recipe transforms humble frozen peas into a flavor-packed delight in mere minutes. It’s the perfect way to add a touch of elegance to any meal, even on busy weeknights. We’ll show you how to make the most of this often-overlooked vegetable.

Making the Magic: Cooking Your Peas
Why Frozen Peas Are Your Friend
Frozen peas are a fantastic pantry staple! They are incredibly convenient, retain a lot of their nutritional value, and cook up quickly. Unlike some other frozen vegetables, peas rarely suffer in texture when frozen, making them a reliable choice for a quick and easy side.
The Simplest Cooking Methods
There are several easy ways to cook frozen peas. Here are a few options:
- Boiling: A classic method. Bring a small amount of salted water to a boil, add the peas, and cook for 2-3 minutes, or until tender. Drain well.
- Steaming: Steaming helps retain more nutrients. Place the peas in a steamer basket over boiling water and cook for 3-5 minutes, or until tender.
- Microwaving: Super quick! Place the peas in a microwave-safe dish with a tablespoon of water. Cover and microwave on high for 2-3 minutes, stirring halfway through. Drain any excess water.
- Sautéing: This is the method we’ll focus on for garlic butter peas, as it allows the peas to absorb all that delicious flavor.
Sautéing: The Key to Flavor
Sautéing the peas in garlic butter creates a richer, more flavorful dish than simply boiling or steaming them. The butter helps to coat the peas evenly, while the garlic infuses them with a savory aroma and taste.

Garlic Butter Perfection: The Recipe
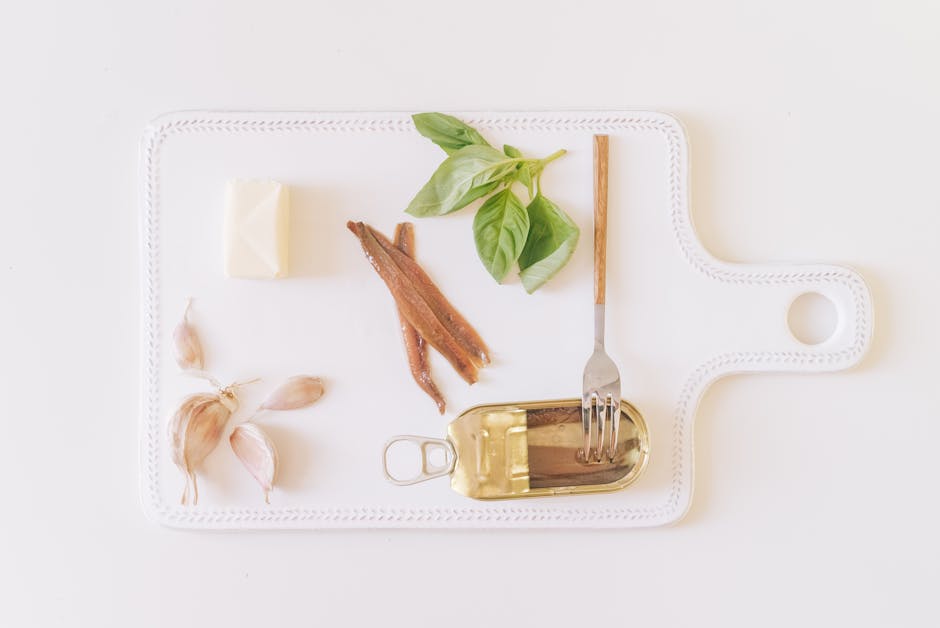
Ingredients You’ll Need
- 1 pound frozen peas
- 2 tablespoons butter
- 2-3 cloves garlic, minced
- Salt and pepper to taste
- Optional: Fresh parsley, chopped, for garnish
Step-by-Step Instructions
- Melt the butter: In a skillet over medium heat, melt the butter. Be careful not to burn it!
- Sauté the garlic: Add the minced garlic to the melted butter and sauté for about 30 seconds, or until fragrant. Don’t let it brown, or it will become bitter.
- Add the peas: Pour the frozen peas into the skillet with the garlic butter.
- Cook the peas: Cook for 5-7 minutes, stirring occasionally, until the peas are heated through and tender.
- Season and serve: Season with salt and pepper to taste. Garnish with fresh parsley, if desired.
Tips for the Best Garlic Butter Peas
- Don’t overcook the garlic: Burnt garlic tastes bitter and will ruin the flavor of the dish.
- Use good quality butter: The flavor of the butter will shine through, so use a brand you enjoy.
- Season generously: Salt and pepper are essential for bringing out the flavors of the peas and garlic butter.
- Add a squeeze of lemon juice: A touch of lemon juice can brighten up the flavors and add a hint of acidity.

Beyond the Basics: Variations & Serving Suggestions
Spice it Up!
Want to add a little kick? Try adding a pinch of red pepper flakes to the garlic butter. This will give the peas a subtle warmth that complements the other flavors perfectly.
Add Some Herbs
Fresh herbs like mint, chives, or dill can add a burst of freshness to your peas. Simply chop them finely and sprinkle them over the finished dish.
Serving Suggestions
These garlic butter peas are a versatile side dish that pairs well with a variety of main courses. Try serving them with:
- Roasted chicken or fish
- Grilled steak or pork chops
- Pasta dishes
- Quinoa or rice bowls
Conclusion: Simple, Flavorful, and Ready in Minutes!
Frozen peas with garlic butter are a quick, easy, and delicious way to add a healthy and flavorful side dish to any meal. With just a few simple ingredients and a few minutes of your time, you can transform humble frozen peas into a culinary delight. So, next time you’re looking for a fast and satisfying side, remember this recipe and enjoy! Happy cooking!
It抯 onerous to search out knowledgeable folks on this matter, however you sound like you understand what you抮e speaking about! Thanks
Thanks for your posting on this website. From my personal experience, there are times when softening up a photograph could provide the photography with a dose of an inspired flare. Often however, the soft cloud isn’t precisely what you had under consideration and can often times spoil a normally good snapshot, especially if you consider enlarging that.
We are a bunch of volunteers and opening a new scheme in our community. Your site offered us with useful info to paintings on. You have done an impressive job and our entire community can be grateful to you.
What抯 Taking place i am new to this, I stumbled upon this I have found It absolutely useful and it has aided me out loads. I am hoping to give a contribution & help different customers like its aided me. Good job.
Hey There. I found your blog using msn. This is a very well written article. I抣l be sure to bookmark it and come back to read more of your useful information. Thanks for the post. I抣l definitely return.
Great article and straight to the point. I don’t know if this is truly the best place to ask but do you people have any thoughts on where to employ some professional writers? Thank you 🙂