Craving a Cool Treat? Try This Frozen Oreo Cake Recipe!
Summer is here, and what better way to beat the heat than with a delicious, no-bake frozen dessert? This Frozen Oreo Cake is incredibly easy to make, requires minimal ingredients, and is guaranteed to be a crowd-pleaser. Get ready to whip up a delightful treat that’s perfect for any occasion!

Let’s Make Some Frozen Oreo Magic!
This recipe is all about simplicity. You don’t need to be a baking expert to create this masterpiece. Let’s dive into the details and get you started on your Frozen Oreo Cake journey.
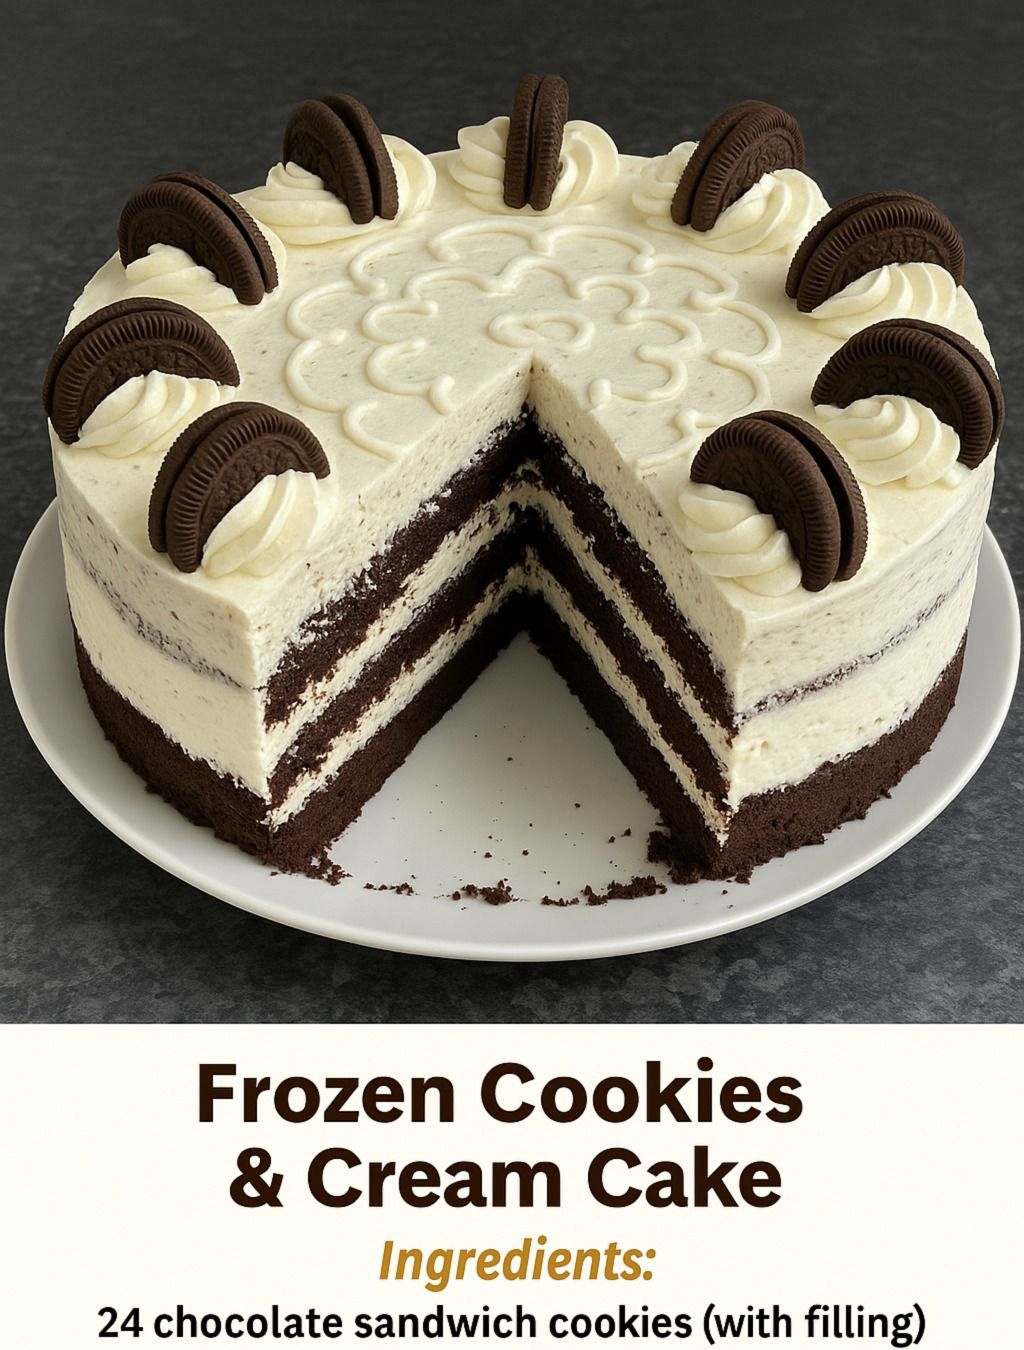
Ingredients You’ll Need
Here’s a quick rundown of what you’ll need to gather before you begin. Don’t worry, it’s a pretty short list!
- Oreo Cookies: The star of the show! We recommend using regular Oreos, but you can experiment with different flavors.
- Heavy Whipping Cream: This will give your cake that rich and creamy texture.
- Sweetened Condensed Milk: Adds sweetness and helps bind everything together.
- Butter (Melted): For creating a delicious Oreo crust.

Crafting the Oreo Crust
The crust is the foundation of our Frozen Oreo Cake, so let’s make it perfect!
- Crush the Oreos: Use a food processor or place them in a Ziploc bag and crush them with a rolling pin. Aim for a fine, sandy texture.
- Combine with Butter: Mix the crushed Oreos with melted butter until well combined.
- Press into Pan: Press the mixture firmly into the bottom of a springform pan or pie dish. This will form your crust.
- Freeze the Crust: Place the crust in the freezer while you prepare the filling. This helps it set.

Whipping Up the Dreamy Filling
This is where the magic truly happens. The filling is what makes this Frozen Oreo Cake so irresistible!
- Whip the Cream: In a large bowl, whip the heavy cream until stiff peaks form.
- Fold in Condensed Milk: Gently fold in the sweetened condensed milk until well combined. Be careful not to overmix.
- Add Oreo Chunks: Roughly chop some more Oreos and gently fold them into the whipped cream mixture.
Assembling Your Frozen Oreo Masterpiece
Time to put everything together and create our Frozen Oreo Cake!
- Pour the Filling: Pour the Oreo filling over the prepared Oreo crust.
- Smooth the Top: Use a spatula to smooth the top of the filling.
- Garnish (Optional): Sprinkle some extra crushed Oreos on top for decoration.
- Freeze: Cover the cake and freeze for at least 4-6 hours, or preferably overnight.
Serving and Enjoying Your Frozen Oreo Cake
The moment we’ve all been waiting for! Here’s how to serve and savor your creation.
- Let it Thaw Slightly: Before serving, let the cake thaw for about 10-15 minutes. This will make it easier to slice.
- Slice and Serve: Cut the cake into slices and serve immediately.
- Optional Toppings: Consider adding a drizzle of chocolate sauce or a dollop of whipped cream for an extra touch.

The Frozen Finale: Enjoy Your Oreo Delight!
There you have it! A simple, delicious, and refreshing Frozen Oreo Cake that’s perfect for any occasion. This no-bake dessert is a fantastic way to satisfy your sweet tooth, especially during the hot summer months. So go ahead, gather your ingredients, and create this delightful treat today. You (and your taste buds) won’t regret it! Consider trying variations with different Oreo flavors or adding other toppings to personalize your frozen creation. Happy baking (or rather, freezing!)!
