Ever dreamt of that perfect crack of a spoon against a brittle, caramelized sugar crust, revealing the creamy, vanilla-infused custard underneath? We’re talking about crème brûlée, of course! This classic French dessert is surprisingly easy to make at home, and it’s guaranteed to impress. Let’s dive into the world of this delightful treat!
What is Crème Brûlée?
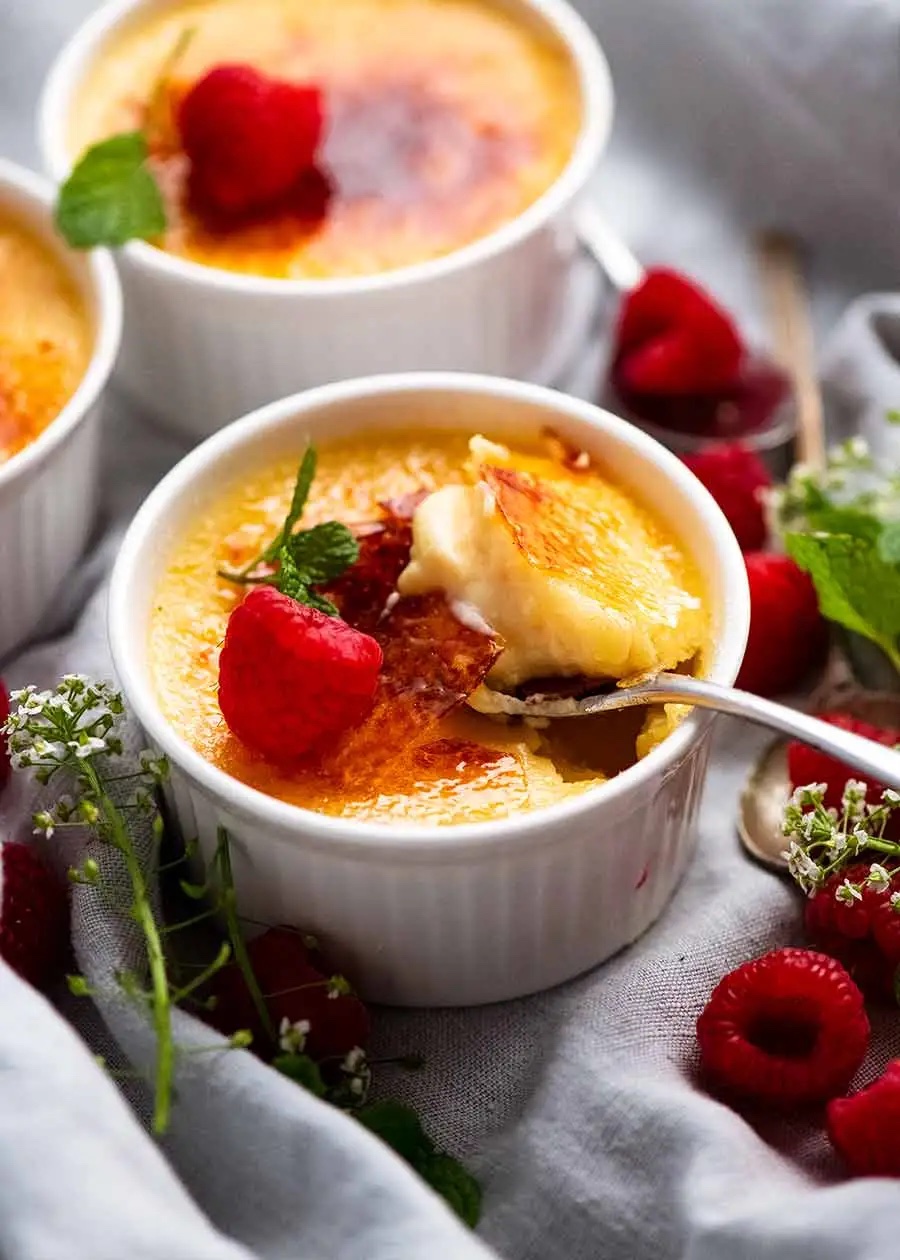
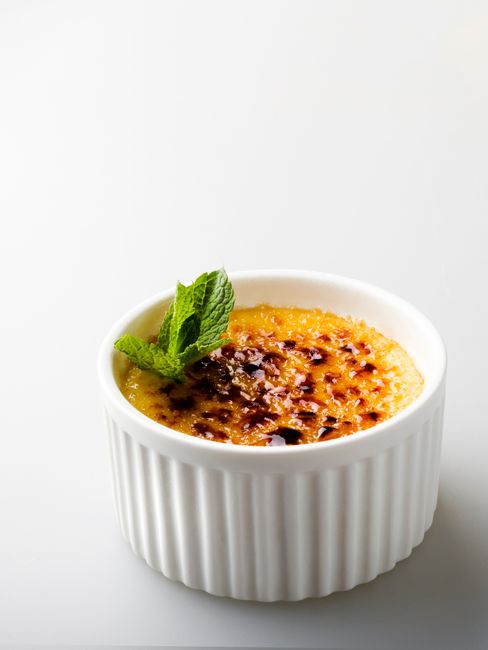
Crème brûlée, which translates to “burnt cream,” is a rich custard base topped with a contrasting layer of hardened caramelized sugar. It’s that satisfying *thwack* and the creamy, cool custard that make it such a beloved dessert. While often associated with France, similar custard desserts exist in other cultures. The key to a perfect crème brûlée lies in the smooth, velvety texture of the custard and the crisp, glass-like sugar topping.

Understanding the Key Ingredients
The ingredients for crème brûlée are deceptively simple, which means quality matters! Here’s a breakdown:
- Heavy Cream: The foundation of our rich custard. Use *heavy cream* and avoid lighter options like half-and-half for the best texture.
- Egg Yolks: These provide richness, structure, and that signature creamy texture.
- Sugar: Granulated sugar sweetens the custard and creates that glorious caramelized topping.
- Vanilla: Use pure vanilla extract or, even better, a vanilla bean for a more intense flavor.
- Pinch of Salt: A small amount of salt balances the sweetness and enhances the other flavors.
Essential Equipment for Crème Brûlée
While the ingredients list is short, a few pieces of equipment will make your life easier:
- Ramekins: Shallow, heat-safe dishes are essential for baking individual portions of crème brûlée.
- Baking Dish: A larger dish to hold the ramekins for a water bath (bain-marie).
- Torch: A kitchen torch is the easiest way to caramelize the sugar topping. If you don’t have one, you can use the broiler, but watch it *very* carefully!
Mastering the Crème Brûlée Recipe
Ready to make your own? Here’s a simplified overview of the process. Don’t worry, we’ll break it down further!
- Heat the cream and vanilla.
- Whisk together the egg yolks and sugar.
- Temper the egg yolks with the warm cream.
- Strain the mixture into ramekins.
- Bake in a water bath.
- Chill thoroughly.
- Sprinkle with sugar and caramelize with a torch.

Step-by-Step Baking Instructions
Let’s break down each step in detail for the perfect crème brûlée:
- Heating the Cream: Gently heat the heavy cream and vanilla (vanilla extract or seeds scraped from a vanilla bean) in a saucepan over medium heat. Don’t boil it! You want it just hot enough to scald, around 170°F (77°C).
- Whisking the Yolks: In a separate bowl, whisk together the egg yolks and sugar until pale and slightly thickened. This incorporates air and creates a smoother custard.
- Tempering the Eggs: This is crucial to prevent scrambled eggs! Slowly drizzle a small amount of the hot cream into the egg yolk mixture while whisking constantly. Repeat this process gradually until about half of the cream has been incorporated. This slowly raises the temperature of the egg yolks.
- Combining and Straining: Pour the tempered egg yolk mixture back into the saucepan with the remaining cream. Stir gently to combine. Strain the mixture through a fine-mesh sieve to remove any lumps and create a silky-smooth custard.
- Baking in a Water Bath: Pour the custard into the ramekins. Place the ramekins in a baking dish and fill the dish with hot water until it reaches halfway up the sides of the ramekins. This creates a gentle, even cooking environment. Bake in a preheated oven at 325°F (160°C) for 40-50 minutes, or until the edges are set but the center is still slightly jiggly.
- Chilling: Remove the ramekins from the water bath and let them cool completely at room temperature. Then, cover and refrigerate for at least 4 hours, or preferably overnight. This allows the custard to fully set and develop its flavor.

The Art of Caramelizing the Sugar
This is where the magic happens! Just before serving:
- Sprinkle Evenly: Sprinkle a thin, even layer of granulated sugar over the top of each chilled custard.
- Caramelize: Use a kitchen torch to melt and caramelize the sugar. Hold the flame a few inches above the surface and move it in a circular motion until the sugar is golden brown and bubbly. Be careful not to burn the sugar. If using a broiler, place the ramekins on a baking sheet and broil for a few minutes, watching closely to prevent burning.
- Serve Immediately: Let the caramelized sugar harden for a minute or two before serving. The contrasting temperatures and textures are what make crème brûlée so irresistible!

Troubleshooting Common Crème Brûlée Issues
Even with a great recipe, things can sometimes go awry. Here’s how to troubleshoot common crème brûlée problems:
- Lumpy Custard: Ensure you strain the custard mixture through a fine-mesh sieve to remove any cooked egg bits.
- Watery Custard: Make sure you don’t overbake the crème brûlée. The center should still be slightly jiggly when you remove it from the oven.
- Burnt Sugar: Keep the torch moving and don’t hold it too close to the sugar. If using a broiler, watch it very carefully!
- Crème brûlée not setting up properly: Check oven temperature accuracy. Make sure to use proper ramekin size (too large may cause the custard to not set up correctly).

Beyond the Basics: Flavor Variations
While classic vanilla crème brûlée is divine, don’t be afraid to experiment! Here are some flavor variations to try:
- Chocolate Crème Brûlée: Add melted dark chocolate or cocoa powder to the custard base.
- Coffee Crème Brûlée: Infuse the cream with coffee beans or add instant espresso powder to the custard.
- Lavender Crème Brûlée: Steep dried lavender buds in the cream for a floral aroma.
- Citrus Crème Brûlée: Add citrus zest (lemon, orange, or lime) to the custard for a refreshing twist.
Conclusion
Crème brûlée, with its creamy custard and crisp, caramelized topping, is a dessert that never fails to impress. With a little practice and attention to detail, you can easily create this classic French treat in your own kitchen. So, grab your ramekins, fire up your torch, and get ready to enjoy a truly unforgettable dessert! Don’t forget to share your culinary creations with friends and family – they’ll thank you for it!