Pickled pepper and onion relish. A symphony of sweet, tangy, and slightly spicy flavors – is there anything quite like it to elevate a simple meal? This versatile condiment can transform everything from grilled sausages to humble scrambled eggs into a culinary delight. Let’s dive into the wonderful world of pickled pepper and onion relish!
What is Pickled Pepper and Onion Relish?
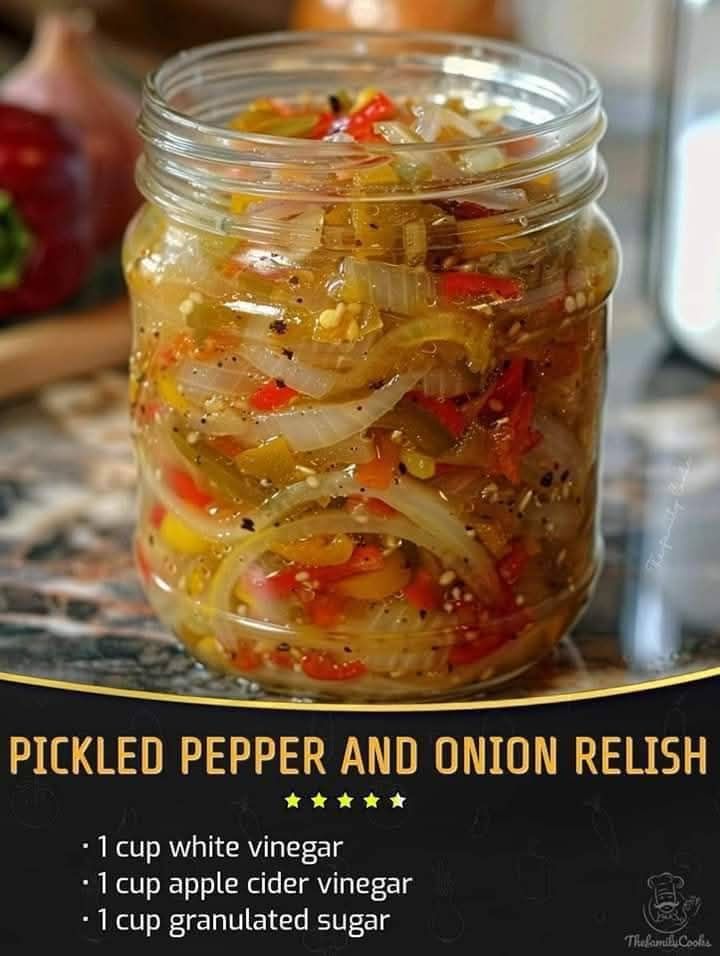
Suggested Image: A vibrant jar of pickled pepper and onion relish with various colored peppers and onions visible.
Pickled pepper and onion relish is a preserved condiment made by combining peppers (sweet, hot, or a mix!), onions, vinegar, sugar, and spices. The pickling process not only extends the shelf life of the vegetables but also infuses them with a distinctive tangy flavor that’s simply irresistible. It’s more than just a topping; it’s a flavor booster, a texture enhancer, and a guaranteed crowd-pleaser. You’ll find regional variations using different pepper types like banana peppers, jalapenos, or bell peppers. Some recipes lean towards sweeter notes, while others pack a fiery punch.
Why Make Your Own?
Suggested Image: A person preparing pickled pepper and onion relish in their kitchen, chopping vegetables.
While you can certainly buy pickled pepper and onion relish at the store, making your own offers several advantages:
* Control over Ingredients: You get to choose the freshest, highest-quality ingredients and adjust the sweetness, spiciness, and overall flavor profile to your liking.
* Customization: Don’t like a particular spice? Leave it out! Want more heat? Add extra chili flakes! The possibilities are endless.
* Cost-Effective: Making your own relish can be significantly cheaper than buying pre-made versions, especially when peppers and onions are in season.
* Satisfaction: There’s something incredibly rewarding about creating something delicious and shelf-stable from scratch.
* No Artificial Preservatives: Homemade relish avoids unwanted additives commonly found in store-bought varieties.
The Essential Ingredients
Suggested Image: A close-up of the essential ingredients: assorted peppers, onions, vinegar, sugar, and spices laid out on a kitchen counter.
Here’s a breakdown of the key ingredients you’ll need:
* Peppers: A mix of sweet bell peppers (red, yellow, orange) and a touch of hot peppers (jalapeños, serranos) provides a balanced flavor.
* Onions: Yellow or white onions are typically used, but red onions can add a sweeter, milder note.
* Vinegar: White vinegar is commonly used for its clean, tangy flavor, but apple cider vinegar can also be used for a slightly sweeter, fruitier taste.
* Sugar: Granulated sugar is used to balance the acidity of the vinegar and enhance the sweetness of the peppers and onions.
* Spices: A blend of spices such as mustard seeds, celery seeds, turmeric, and black peppercorns adds depth and complexity to the relish. Salt is also a key component for flavoring and preserving.
Making Your Own Pickled Pepper and Onion Relish
Suggested Image: A series of images showing the steps of making pickled pepper and onion relish – chopping vegetables, simmering the mixture, and canning the relish.
Now, let’s get to the fun part – making the relish! Here’s a basic recipe to get you started:
Basic Recipe (Yields approximately 4 pint jars)
* 4 cups mixed peppers, seeded and chopped (about 1 lb)
* 2 cups chopped onions (about 1/2 lb)
* 1 1/2 cups white vinegar
* 1 cup granulated sugar
* 2 tablespoons pickling salt
* 1 tablespoon mustard seeds
* 1 teaspoon celery seeds
* 1/2 teaspoon turmeric (optional, for color)
Step-by-Step Instructions
1. Prepare the Vegetables: Wash and chop the peppers and onions into uniform sizes.
2. Combine Ingredients: In a large pot, combine the chopped peppers and onions, vinegar, sugar, salt, mustard seeds, celery seeds, and turmeric (if using).
3. Simmer: Bring the mixture to a boil over medium-high heat. Reduce the heat to low and simmer for 20-25 minutes, or until the vegetables are tender-crisp and the liquid has slightly thickened. Stir frequently to prevent scorching.
4. Sterilize Jars: While the relish is simmering, sterilize your jars and lids according to canning guidelines. Proper sterilization is crucial for safe preservation. Consult an authoritative source on home canning, like the National Center for Home Food Preservation (external link example: [https://nchfp.uga.edu/](https://nchfp.uga.edu/)), for detailed instructions.
5. Fill Jars: Carefully ladle the hot relish into the sterilized jars, leaving 1/2 inch of headspace. Wipe the rims of the jars clean with a damp cloth.
6. Process in a Boiling Water Bath: Place the filled jars in a boiling water bath canner, ensuring the jars are completely submerged in water. Bring the water to a rolling boil and process for 10 minutes (adjust processing time according to your altitude).
7. Cool and Store: Carefully remove the jars from the canner and place them on a towel-lined surface to cool. As the jars cool, you should hear a “pop” sound, indicating that the jars have sealed properly. Let the jars cool completely for 12-24 hours before checking the seals. If a jar hasn’t sealed, refrigerate it and use the relish within a few weeks. Properly sealed jars can be stored in a cool, dark place for up to a year.
Tips for Success
Suggested Image: A collage of images highlighting key tips: using fresh ingredients, chopping vegetables uniformly, and ensuring proper jar sealing.
* Use Fresh Ingredients: The flavor of your relish will be significantly better if you use fresh, high-quality peppers and onions.
* Uniform Size: Chopping the vegetables into uniform sizes ensures even cooking and a consistent texture.
* Adjust the Sweetness and Spiciness: Taste the relish as it simmers and adjust the amount of sugar or hot peppers to your liking.
* Proper Canning: Follow proper canning procedures to ensure the safety and longevity of your relish.
* Let it Rest: The flavor of the relish will improve as it sits. Allow it to rest for at least a week before enjoying.
Serving Suggestions
Suggested Image: Various serving suggestions: relish on a hot dog, on a burger, with cheese and crackers, and mixed into a salad.
Pickled pepper and onion relish is incredibly versatile. Here are just a few ways to enjoy it:
* On Grilled Meats: Top hot dogs, sausages, burgers, and steaks with a generous spoonful of relish.
* In Sandwiches: Add a tangy kick to sandwiches, wraps, and paninis.
* With Eggs: Elevate your scrambled eggs or omelets with a dollop of relish.
* As a Condiment: Serve alongside cheese and crackers or as a topping for nachos and tacos.
* Mixed into Salads: Add a vibrant burst of flavor to potato salad, tuna salad, or pasta salad.
* As a Pizza Topping: Spread sparingly over pizza for a sweet and spicy surprise.
Conclusion
Suggested Image: A smiling person enjoying a meal with pickled pepper and onion relish.
Pickled pepper and onion relish is a fantastic way to preserve the bounty of your garden or local farmers’ market. With its vibrant colors, tangy flavor, and endless serving possibilities, it’s a condiment that deserves a place in every kitchen. So, grab your peppers and onions, and get ready to create a culinary masterpiece! Enjoy the process, experiment with flavors, and most importantly, have fun! The key takeaway? Homemade is always better!
Thank you for providing me with these article examples. May I ask you a question? http://www.kayswell.com
I just like the valuable information you provide on your articles.I’ll bookmark your blog and test again here frequently. I’m quite certain I’ll be informed plenty of new stuff proper right here! http://www.kayswell.com Good luck for the next!
Good post however , I was wanting to know if you could write a litte more on this topic? I’d be very thankful if you could elaborate a little bit more. Thank you! http://www.kayswell.com
I do agree with all of the concepts you’ve introducedon your post. They’re really convincing and will definitely work.Nonetheless, the posts are very brief for newbies.May just you please extend them a bit from subsequent time?Thanks for the post. http://www.kayswell.com