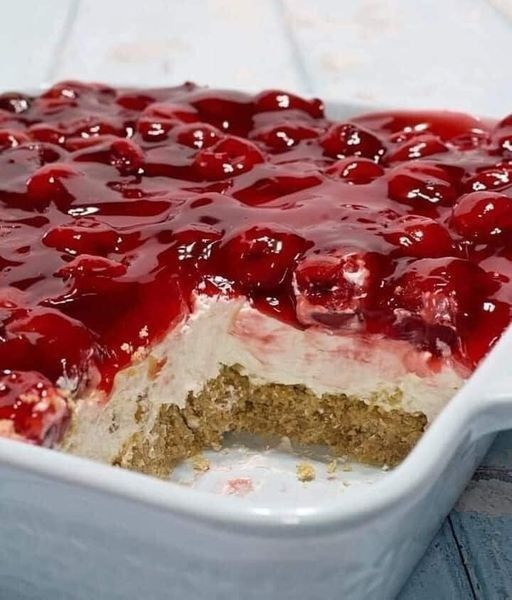
Craving a dessert that’s both creamy and fruity? Look no further! This cherry cheesecake recipe is the perfect balance of rich, smooth cheesecake and sweet, tart cherry topping. Get ready to impress your friends and family (or just treat yourself!) with this decadent delight.
Making the Perfect Cherry Cheesecake
Who can resist a slice of creamy cheesecake topped with glistening cherries? This recipe walks you through each step, ensuring a perfect outcome every time. From the buttery graham cracker crust to the luscious filling and the irresistible cherry topping, we’ll cover everything you need to know.
Getting Started: The Graham Cracker Crust
A good cheesecake starts with a solid foundation. The graham cracker crust is simple to make and adds a delightful crunch that complements the creamy filling perfectly.
- Ingredients: Graham crackers, melted butter, and sugar.
- Instructions: Crush the graham crackers, combine with melted butter and sugar, then press into the bottom of a springform pan.
- Baking Tip: Pre-baking the crust for a few minutes helps it set and prevents it from becoming soggy.

Crafting the Creamy Cheesecake Filling
The heart of any cheesecake is its filling. This recipe uses a combination of cream cheese, sugar, eggs, and a touch of vanilla to create a smooth and decadent texture that melts in your mouth.
- Softening the Cream Cheese: Make sure your cream cheese is at room temperature for the smoothest results. This prevents lumps in the batter.
- Mixing Technique: Beat the cream cheese until light and fluffy before adding the other ingredients. This incorporates air and creates a lighter texture.
- Adding Eggs: Add the eggs one at a time, mixing just until combined. Overmixing can lead to a tough cheesecake.
Baking to Perfection: Avoiding Cracks
The key to a perfect cheesecake is baking it low and slow. This gentle heat helps prevent cracks and ensures a creamy texture throughout.
- Water Bath: Baking the cheesecake in a water bath is crucial. The steam from the water helps keep the oven moist, preventing the cheesecake from drying out and cracking.
- Oven Temperature: Maintain a low oven temperature (around 325°F or 160°C).
- Cooling Process: Let the cheesecake cool in the oven with the door slightly ajar for an hour before transferring it to the refrigerator. This gradual cooling helps prevent cracking.

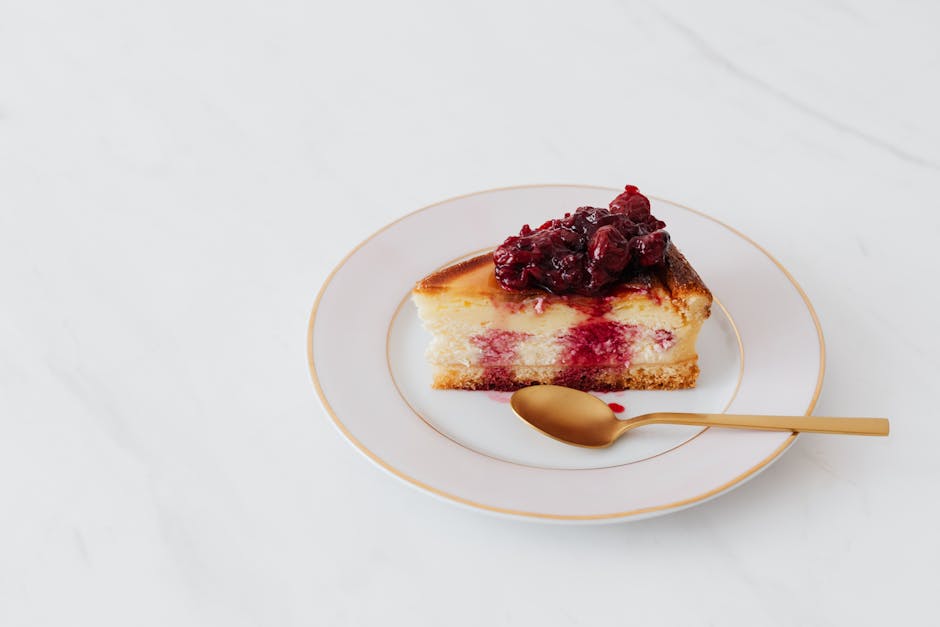
The Grand Finale: Cherry Topping
The sweet and tart cherry topping is the perfect complement to the rich cheesecake. You can use fresh or canned cherries for this recipe.
- Choosing Cherries: Fresh cherries offer a vibrant flavor, while canned cherries are a convenient option.
- Making the Sauce: Combine cherries, sugar, cornstarch, and a splash of lemon juice in a saucepan. Cook until the sauce thickens and the cherries are tender.
- Cooling the Topping: Allow the cherry topping to cool slightly before spreading it over the cheesecake. This prevents it from melting the cheesecake filling.

Tips for a Flawless Cherry Cheesecake
Want to take your cherry cheesecake to the next level? Here are a few extra tips and tricks to ensure success:
- Use High-Quality Ingredients: The better the ingredients, the better the flavor. Opt for full-fat cream cheese for the richest texture.
- Don’t Overbake: The cheesecake is done when the center jiggles slightly. It will firm up as it cools.
- Chill Thoroughly: Allow the cheesecake to chill in the refrigerator for at least 4 hours, or preferably overnight, before serving. This allows the flavors to meld together and the cheesecake to set completely.
Indulge in Your Homemade Cherry Cheesecake!
Now that you have all the knowledge and tips, it’s time to bake! This cherry cheesecake recipe is sure to become a family favorite. Enjoy the process, savor the flavors, and share your delicious creation with loved ones. Don’t be afraid to experiment with different variations, like adding a hint of almond extract to the filling or using a different fruit topping. Happy baking! And be sure to share your creations – we’d love to see them!