Here’s the HTML article content, following all your instructions:
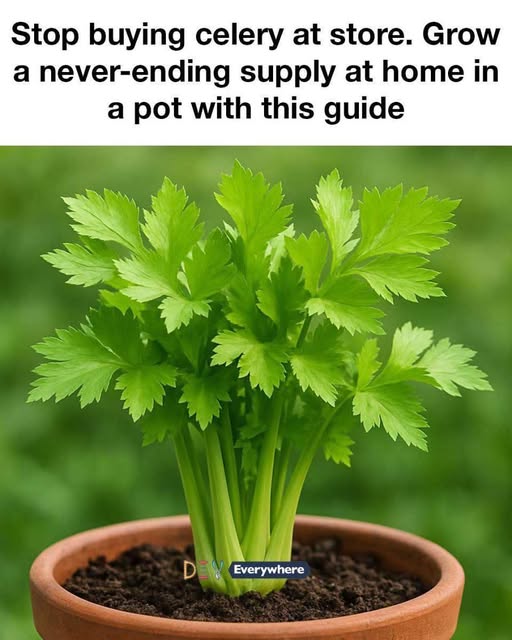
Tired of Buying Celery? Grow Your Own Endless Supply at Home!
Imagine crisp, fresh celery always at your fingertips, without ever having to make a trip to the grocery store! Sounds like a dream? It’s actually quite achievable. Growing celery at home, even in a pot, is easier than you might think. Not only is it a fantastic way to save money, but it also guarantees you’ll always have this healthy vegetable on hand. Plus, we’ll even share a bonus tip for growing coriander right alongside your celery! Let’s dive in!
The Magic of Regrowing Celery from Scraps
The secret to a never-ending celery supply lies in the base of the celery you already buy. Instead of tossing it out, we’re going to use it to kickstart a new plant!
Step 1: Saving the Celery Base
After using your celery, don’t discard the base (the part where all the stalks are joined). Cut it off about 2 inches from the bottom. This is the key to your celery-growing success!
Step 2: Sprouting in Water
Place the celery base in a shallow bowl or dish filled with about an inch of water. Make sure the cut side is facing up and submerged. Place the dish on a sunny windowsill or under a grow light. Change the water every 1-2 days to prevent mold and bacteria growth.
Step 3: Planting in Soil
After about 5-7 days, you should start to see small roots emerging from the bottom of the base and new leaves sprouting from the top. Once the roots are an inch or two long, it’s time to transfer your celery plant to a pot.
Here’s what you’ll need:
- A pot that’s at least 6 inches in diameter.
- Well-draining potting soil.
- Water.
Plant the celery base in the pot, burying the roots and leaving the top of the base exposed. Water thoroughly after planting.
Step 4: Ongoing Care for Your Celery Plant
Celery loves moisture and sunshine! Here’s how to keep your plant happy:
- Sunlight: Celery needs at least 6 hours of sunlight per day. If you don’t have a sunny spot indoors, consider using a grow light.
- Watering: Keep the soil consistently moist, but not waterlogged. Water when the top inch of soil feels dry.
- Fertilizing: Feed your celery plant with a balanced liquid fertilizer every 2-3 weeks.
- Harvesting: You can start harvesting individual stalks once they reach a usable size (usually a few months after planting). Simply cut off the outer stalks near the base of the plant, allowing the inner stalks to continue growing.
Bonus Tip: Companion Planting with Coriander!
Here’s a little secret: Celery and coriander (cilantro) are excellent companion plants! Coriander can help repel pests that might bother your celery, and celery can provide shade that coriander appreciates, especially in hotter climates. You can plant coriander seeds directly in the same pot as your celery, or in a separate pot nearby.
Enjoying Your Homegrown Celery
Imagine the satisfaction of snipping fresh celery stalks from your own plant whenever you need them! From adding them to soups and salads to enjoying them as a healthy snack with peanut butter, homegrown celery brings a unique freshness and convenience to your kitchen.
Conclusion: Start Your Celery Garden Today!
Growing your own celery at home is a rewarding and sustainable way to enjoy this versatile vegetable. By following these simple steps, you can transform a humble celery base into a thriving plant that provides you with a continuous supply of fresh, flavorful stalks. So, ditch the store-bought celery and embrace the joy of homegrown goodness! Start your celery garden today!