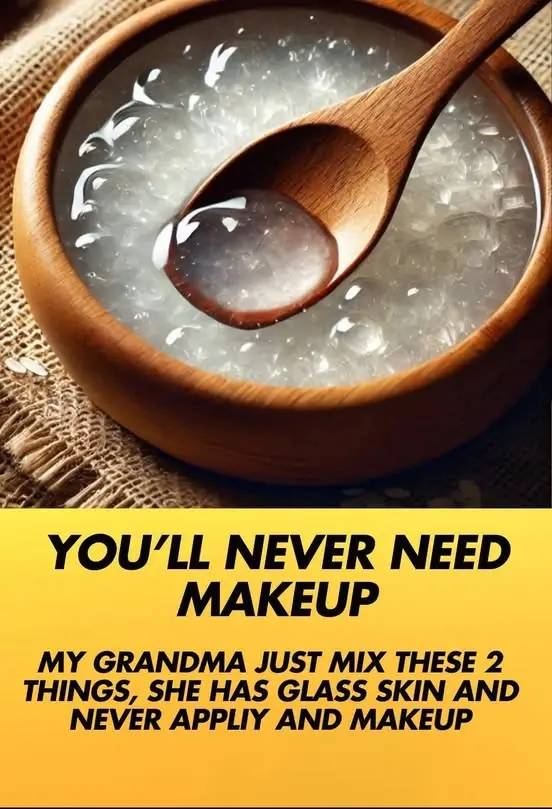
Ever dreamt of waking up with skin so luminous it looks like glass? That coveted “glass skin” look, originating from Korean beauty trends, is all about achieving a complexion that’s incredibly smooth, hydrated, and translucent. And guess what? You don’t need a ton of expensive products to get there. We’re diving into creating your own DIY glass skin serum – a natural and effective way to unlock your skin’s inner radiance!

Understanding the Glass Skin Goal
So, what exactly *is* glass skin? It’s more than just dewy skin. It’s about achieving a certain level of hydration, even skin tone, and a texture so smooth it reflects light beautifully. The key is consistent hydration and gentle exfoliation to reveal fresh, radiant skin.

Why DIY a Glass Skin Serum?
There are several reasons to consider crafting your own glass skin serum:
- Cost-effective: Store-bought serums can be pricey. Making your own allows you to control the ingredients and budget.
- Customization: You can tailor the serum to your specific skin type and concerns (dryness, sensitivity, acne, etc.).
- Natural ingredients: You avoid harsh chemicals and preservatives often found in commercial products.
- Control over ingredients: Know exactly what is going onto your skin.

DIY Glass Skin Serum Recipe
Here’s a simple yet effective recipe to get you started. Remember to patch test any new ingredients on a small area of skin before applying it to your entire face.
Ingredients:
- Hyaluronic Acid Serum (1 tbsp): This is your hydration hero! Hyaluronic acid attracts and holds moisture, plumping up the skin.
- Rose Water (1 tbsp): Soothes inflammation, hydrates, and gives a lovely glow.
- Aloe Vera Gel (1 tsp): Calms irritation, provides hydration, and aids in healing.
- Glycerin (½ tsp): A humectant that draws moisture from the air into the skin.
- Optional: Vitamin C Serum (a few drops): For brightening and antioxidant protection. Use a stable form of Vitamin C.

Instructions:
- In a clean glass bottle or container, combine all the ingredients.
- Shake well to ensure everything is thoroughly mixed.
- Store in a cool, dark place or in the refrigerator for extended shelf life (about 2-3 weeks).
How to Apply:
- After cleansing and toning, apply a few drops of the serum to your face and neck.
- Gently pat the serum into your skin until fully absorbed.
- Follow with your moisturizer.
- Use morning and night for best results.

Customizing Your Serum
The beauty of DIY is that you can adjust the recipe to suit your specific needs. Here are a few variations:
For Dry Skin:
Add a few drops of argan oil or jojoba oil for extra moisture and nourishment. These oils are known for their emollient properties, helping to lock in hydration.
For Oily or Acne-Prone Skin:
Include a drop or two of tea tree oil (diluted!), known for its antibacterial and anti-inflammatory properties. Be cautious with tea tree oil, as it can be irritating if used undiluted. Witch hazel (alcohol-free) can also be added as a toner.
For Sensitive Skin:
Keep it simple! Omit the Vitamin C and essential oils. Focus on hydrating and soothing ingredients like aloe vera and rose water.

Beyond the Serum: Achieving the Glass Skin Look
While this DIY serum is a fantastic addition to your skincare routine, it’s just one piece of the puzzle. The glass skin look requires a holistic approach.
Essential Tips for Glass Skin:
- Double Cleansing: Remove makeup and impurities effectively.
- Gentle Exfoliation: Regular exfoliation (1-2 times a week) helps remove dead skin cells, revealing a smoother complexion. Consider a gentle chemical exfoliant like lactic acid.
- Hydration, Hydration, Hydration!: Drink plenty of water and use hydrating toners, essences, and moisturizers.
- Sun Protection: Protect your skin from sun damage with a broad-spectrum SPF 30 or higher every day.
- Healthy Diet: Nourish your skin from within with a balanced diet rich in fruits, vegetables, and healthy fats.

Conclusion
Achieving glass skin is a journey, not a destination. This DIY serum is a powerful tool to add to your routine, but consistency and a holistic approach are key. By combining this serum with a proper skincare regimen, adequate hydration, and sun protection, you’ll be well on your way to achieving that radiant, translucent complexion you’ve always dreamed of! So, get mixing, and get glowing!
