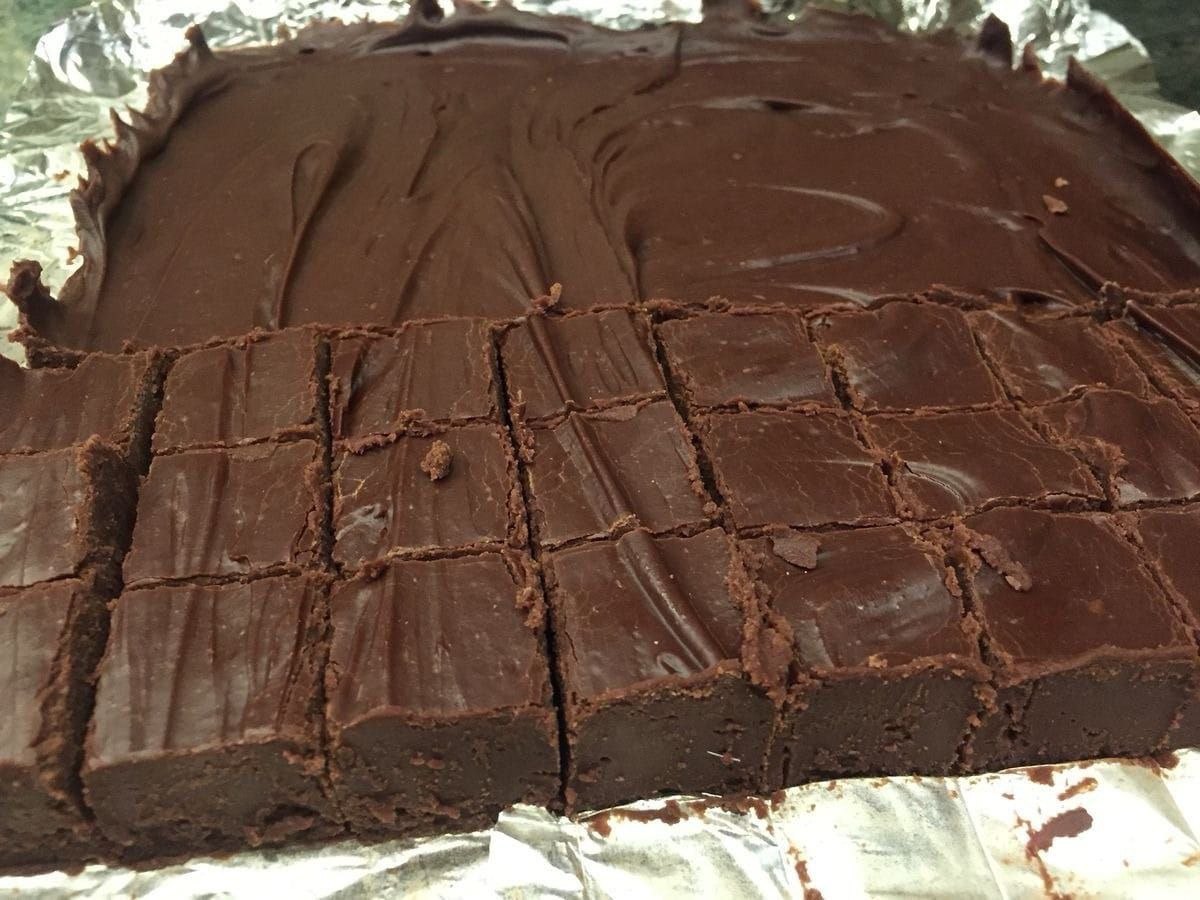
Old Fashioned Fudge: A Classic Treat You Can’t Afford to Forget
Remember those decadent, melt-in-your-mouth squares of fudge your grandma used to make? That’s the magic of old fashioned fudge, a timeless dessert that’s surprisingly easy to recreate at home. Forget those complicated, overly-sweet recipes you find online. We’re going back to basics with a creamy, rich fudge that tastes like pure nostalgia. Don’t let this classic disappear! Let’s dive in and learn how to make it.

The Secrets to Perfect Old Fashioned Fudge
Making perfect old fashioned fudge is all about understanding the science behind it. It’s not as daunting as it sounds, I promise! A little attention to detail, and you’ll be impressing everyone with your confectionery skills in no time. We’ll break down the key elements for you.
Choosing the Right Ingredients
The quality of your ingredients directly impacts the taste and texture of your fudge. Here’s what you need to consider:
- Butter: Use real butter, not margarine. It contributes to the rich flavor and creamy texture. Unsalted butter is preferred so you can control the saltiness of the final product.
- Sugar: Granulated sugar is the standard choice for old fashioned fudge.
- Milk: Whole milk is ideal for the best flavor and richness. Evaporated milk is a good alternative and can sometimes improve the fudge’s texture by preventing sugar crystals from forming.
- Chocolate: High-quality unsweetened chocolate is the star of the show. Opt for a brand you enjoy eating on its own. Semi-sweet chocolate chips can also be used in combination with unsweetened chocolate for a sweeter result.
- Vanilla Extract: Pure vanilla extract adds a subtle but essential flavor. Don’t skimp on this!
- Salt: Just a pinch enhances the other flavors and balances the sweetness.

Mastering the Cooking Process
Cooking the fudge base is the most crucial step. Accuracy and patience are key! Here’s the breakdown:
- Combine Ingredients: In a heavy-bottomed saucepan, combine the sugar, butter, milk (or evaporated milk), and salt.
- Cook Over Medium Heat: Stir constantly until the sugar is dissolved. This prevents burning and ensures even cooking.
- Bring to a Boil: Once the sugar is dissolved, bring the mixture to a rolling boil. Use a candy thermometer and monitor the temperature carefully.
- Reach the Soft-Ball Stage: The mixture needs to reach 235-240°F (112-115°C), known as the “soft-ball stage.” This is critical for achieving the right fudge texture. The Exploratorium offers a great explanation of candy stages.
- Cool Slightly: Remove the saucepan from the heat and let it cool slightly, about 5-10 minutes. This helps prevent sugar crystals from forming and creates a smoother fudge.
- Add Chocolate and Vanilla: Add the chocolate and vanilla extract. Stir until the chocolate is completely melted and the mixture is smooth.

The Importance of Beating
This is where the magic happens! Beating the fudge properly is what gives it that perfect creamy texture. Here’s how to do it:
- Beat Until Thickened: Use a wooden spoon or a sturdy spatula to beat the fudge vigorously. The mixture will start to thicken and lose its gloss.
- Watch for the Change: You’ll know it’s ready when the fudge becomes dull and starts to hold its shape when dropped from the spoon. This usually takes a few minutes.
- Don’t Overbeat: Be careful not to overbeat the fudge, or it will become dry and crumbly.

Setting and Storage
Almost there! Now it’s time to let your fudge solidify and savor the results.
- Pour into Prepared Pan: Pour the fudge into a buttered and lined 8×8 inch baking pan.
- Smooth the Top: Use a spatula to smooth the top evenly.
- Chill Until Set: Refrigerate the fudge for at least 2 hours, or preferably overnight, to allow it to set completely.
- Cut and Enjoy: Once set, cut the fudge into squares and enjoy!
- Store Properly: Store your old fashioned fudge in an airtight container at room temperature for up to a week, or in the refrigerator for longer storage.

Troubleshooting Common Fudge Problems
Sometimes things don’t go exactly as planned. Here’s how to fix some common fudge-making issues:
- Grainy Fudge: This is often caused by sugar crystals forming. Make sure the sugar is completely dissolved before bringing the mixture to a boil, and avoid stirring the mixture while it’s boiling. A small amount of corn syrup (about a tablespoon) can also help prevent crystal formation.
- Dry and Crumbly Fudge: This is usually due to overcooking or overbeating. Be sure to cook the fudge to the correct temperature (soft-ball stage) and avoid overbeating after adding the chocolate.
- Soft and Gooey Fudge: This can be caused by undercooking. Make sure the fudge reaches the soft-ball stage and chill it for long enough to set properly.

Beyond the Basics: Variations and Add-ins
Once you’ve mastered the classic old fashioned fudge recipe, feel free to experiment with different flavors and add-ins:
- Nuts: Add chopped walnuts, pecans, or almonds to the fudge for extra texture and flavor.
- Peanut Butter: Swirl in some peanut butter after the chocolate has melted for a delicious peanut butter fudge.
- Marshmallow Creme: Fold in marshmallow creme after beating the fudge for a softer, fluffier texture.
- Espresso Powder: Add a teaspoon of espresso powder for a mocha-flavored fudge.
- Candy Canes: Crush candy canes and sprinkle them on top for a festive peppermint fudge.

Old Fashioned Fudge: A Recipe for Memories
Old fashioned fudge is more than just a dessert; it’s a connection to the past. It’s a way to share a piece of your childhood with your loved ones and create new memories around the kitchen table. So, don’t let this classic recipe fade away. Gather your ingredients, put on your apron, and get ready to make some delicious, unforgettable fudge. You won’t regret it!

