Craving creamy, dreamy ice cream but don’t want to invest in an ice cream maker? You’re in the right place! Believe it or not, you can whip up incredibly delicious homemade ice cream with just a few simple ingredients and a little elbow grease. No fancy machines required! We’re going to break down the process into just three easy steps so you can enjoy a frozen treat whenever the mood strikes. Let’s get started!
The Magic of No-Churn Ice Cream
The secret to amazing no-churn ice cream lies in using sweetened condensed milk. This magical ingredient already contains sugar and helps create a smooth, creamy texture without the need for constant churning. It essentially does the work of an ice cream machine for you. Combined with whipped cream, you get an airy, decadent base that freezes beautifully.
Suggested Image: A close-up photo of creamy no-churn ice cream in a bowl, with a spoon scooping out a portion.
Ingredients You’ll Need
- 1 (14 ounce) can Sweetened Condensed Milk
- 2 cups Heavy Cream
- 1 teaspoon Vanilla Extract (or any flavor extract you like!)
That’s it for the basic recipe! Feel free to get creative with mix-ins like chocolate chips, fruit, nuts, or cookie pieces.
Suggested Image: A flat lay showing the three core ingredients: sweetened condensed milk, heavy cream, and vanilla extract.
Equipment You’ll Need
- Large Mixing Bowl
- Electric Mixer (handheld or stand mixer)
- Spatula
- Freezer-Safe Container (loaf pan, plastic container, etc.)
Suggested Image: A photo showcasing the simple equipment required: mixing bowl, electric mixer, spatula, and freezer container.
The 3 Simple Steps to Homemade Ice Cream
Ready to transform these ingredients into ice cream? Follow these easy steps, and you’ll be enjoying a frozen delight in no time!
Step 1: Whip the Heavy Cream
In a large mixing bowl, pour in the heavy cream. Using an electric mixer, beat the heavy cream on medium-high speed until stiff peaks form. This is crucial for achieving that light and airy texture we’re after. Be careful not to overwhip, or you’ll end up with butter! Stiff peaks should hold their shape when you lift the beaters.
Suggested Image: A photo demonstrating the process of whipping heavy cream to stiff peaks.
Step 2: Combine and Fold
Gently fold in the sweetened condensed milk and vanilla extract (or your chosen flavor) into the whipped cream. Use a spatula to fold, not stir, to avoid deflating the whipped cream. This step ensures that the ice cream stays light and fluffy. You want to incorporate everything evenly, but don’t overmix. This technique maintains the desired airy texture. Now is the time to fold in any additional mix-ins you want to add, such as chocolate chips, fruit, or nuts.
Suggested Image: A photo showing the gentle folding of sweetened condensed milk into the whipped cream.
Step 3: Freeze and Enjoy!
Pour the mixture into your freezer-safe container. Cover it tightly with plastic wrap, pressing the wrap directly onto the surface of the ice cream to prevent ice crystals from forming. Then, place the container in the freezer for at least 6 hours, or preferably overnight, to allow the ice cream to fully set. Once frozen solid, scoop and enjoy your homemade creamy ice cream! For easier scooping, let the ice cream sit at room temperature for a few minutes before serving.
Suggested Image: A photo of the ice cream mixture being poured into a freezer-safe container, ready for freezing.
Flavor Variations and Tips
The basic recipe is just the beginning! The possibilities for flavor variations are endless. Let’s explore a few ideas and tips to help you create your perfect homemade ice cream.
Flavor Combination Ideas
- Chocolate Chip Cookie Dough: Fold in chunks of cookie dough and chocolate chips.
- Strawberry Cheesecake: Swirl in strawberry jam and cream cheese chunks.
- Mint Chocolate Chip: Add mint extract and chocolate chips.
- Coffee: Dissolve instant coffee granules in a little hot water and add to the mixture.
Suggested Image: A collage showcasing different flavor variations of the no-churn ice cream.
Tips for Success
- Use cold ingredients: Cold heavy cream whips up faster and better.
- Don’t overmix: Overmixing can deflate the whipped cream and result in a less airy texture.
- Freeze properly: Make sure your freezer is cold enough and that the ice cream is completely frozen before serving.
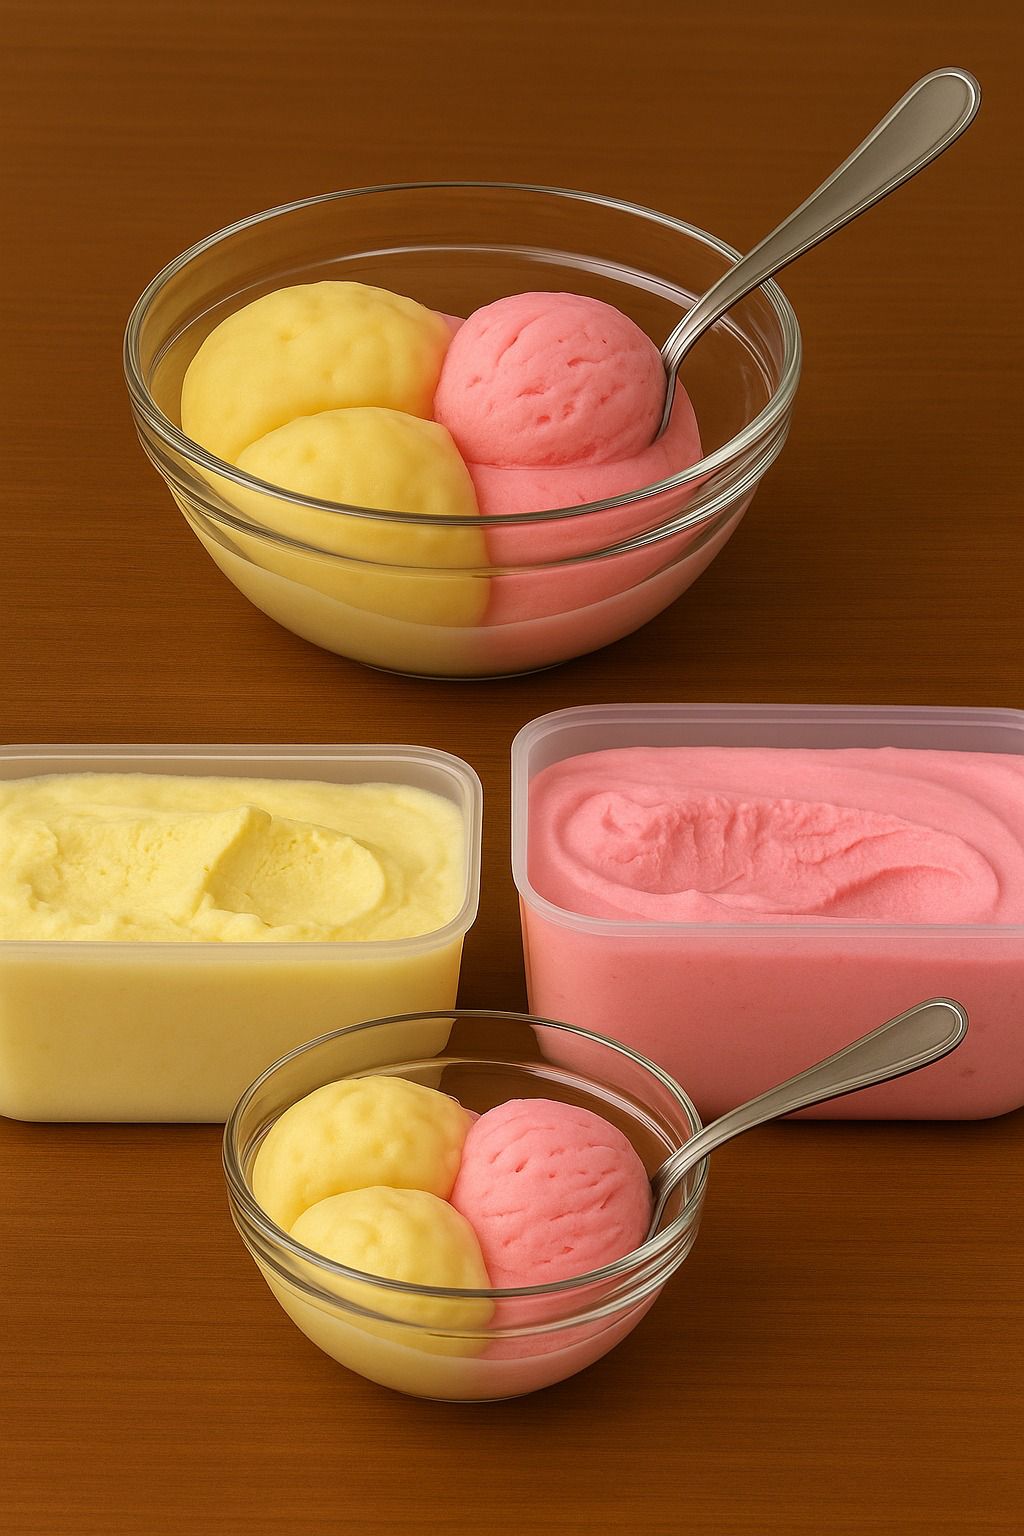
Suggested Image: A close-up of perfectly scooped ice cream, highlighting its creamy texture.
Conclusion
There you have it! Homemade, creamy ice cream made without a machine in just three easy steps. With a few simple ingredients and a little bit of time, you can enjoy a delicious frozen treat whenever you want. Don’t be afraid to experiment with different flavors and mix-ins to create your signature ice cream. Now, go grab those ingredients and start churning (or rather, not churning!). Enjoy!
Suggested Image: A person smiling and enjoying a spoonful of their homemade no-churn ice cream.